The Velodyne LIDAR is becoming an integral part of a self-driving car. Because of high demand, there are enough software modules available for working with this sensor. We are going to simulate two popular models of Velodyne, called HDL-32E and VLP-16. Let's see how to do it in ROS and Gazebo.
In ROS-Kinetic and Indigo, we can install from a binary package or compile from source code. Here is the command to install Velodyne packages on ROS Kinetic:
$ sudo apt-get install ros-kinetic-velodyne-simulator
In ROS Indigo, just replace the ROS distribution name:
$ sudo apt-get install ros-indigo-velodyne-simulator
To install it from source code, just clone the source package to the ROS workspace using the following command:
$ git clone https://bitbucket.org/DataspeedInc/velodyne_simulator.git
After cloning the package, you can build it using the catkin_make command. Here is the ROS wiki page of the Velodyne simulator:
http://wiki.ros.org/velodyne_simulator
So you are installed the packages. Now it's time to start the simulation of the Velodyne sensor. You can start the simulation using the following command:
$ roslaunch velodyne_description example.launch
This command will launch the sensor simulation in Gazebo. Note that this simulation will consume a lot of RAM of your system; your system should have at least 8 GB before start the simulation.
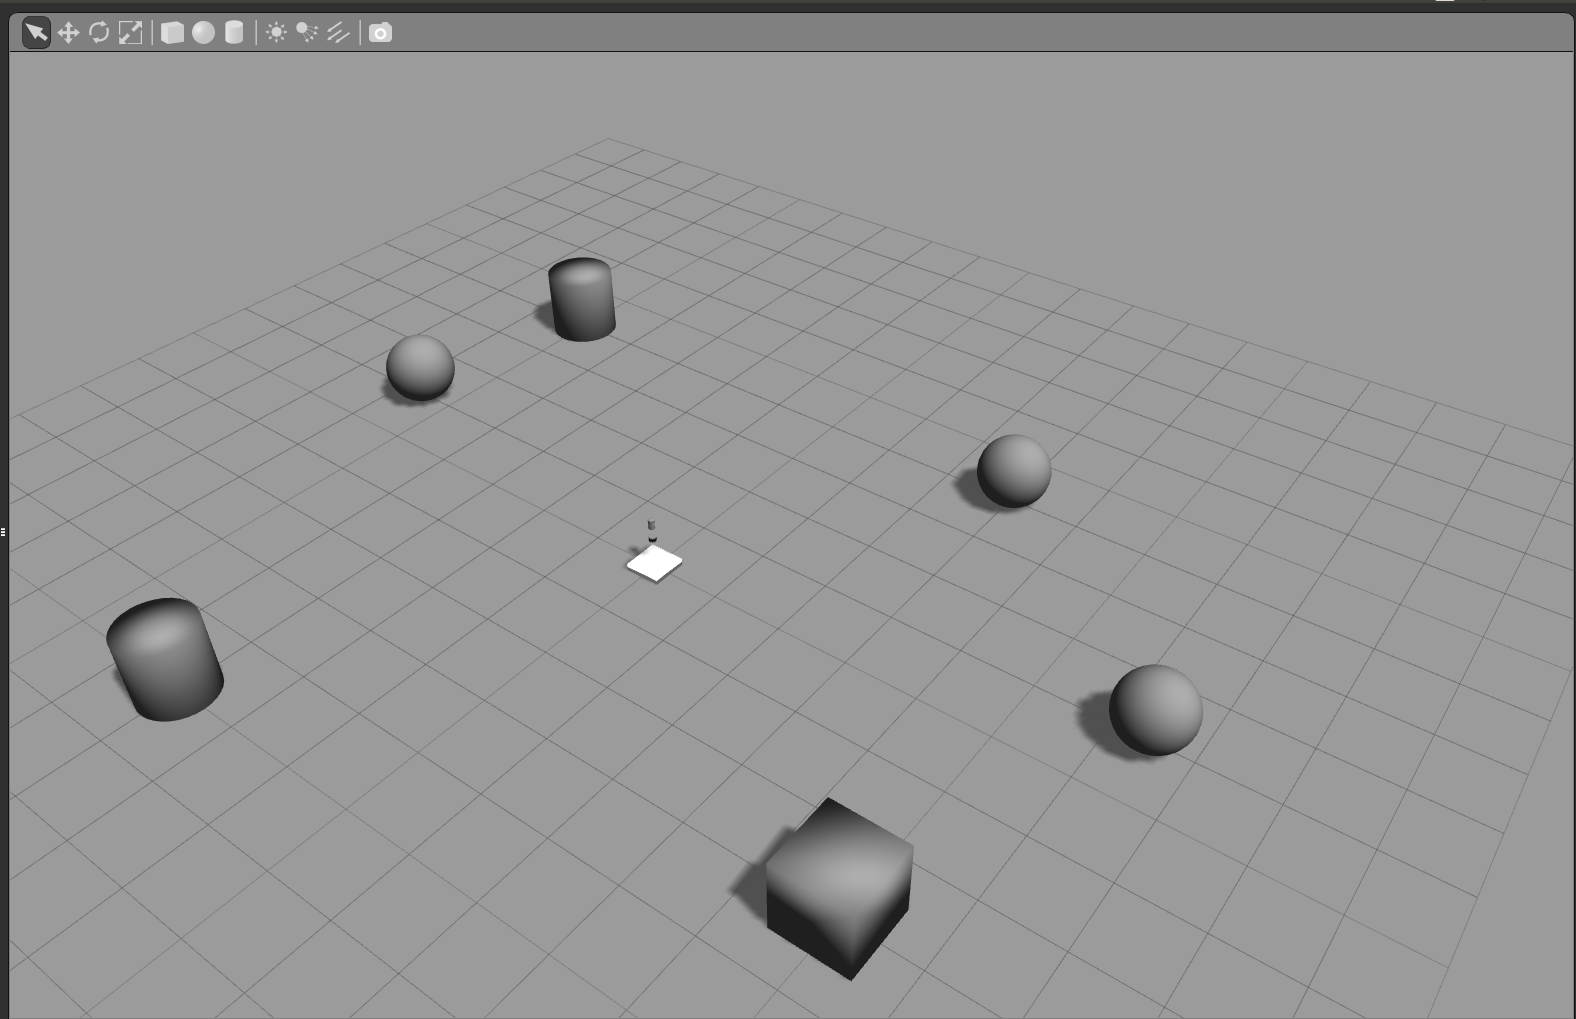
You can add some obstacles around the sensor for testing, like this:
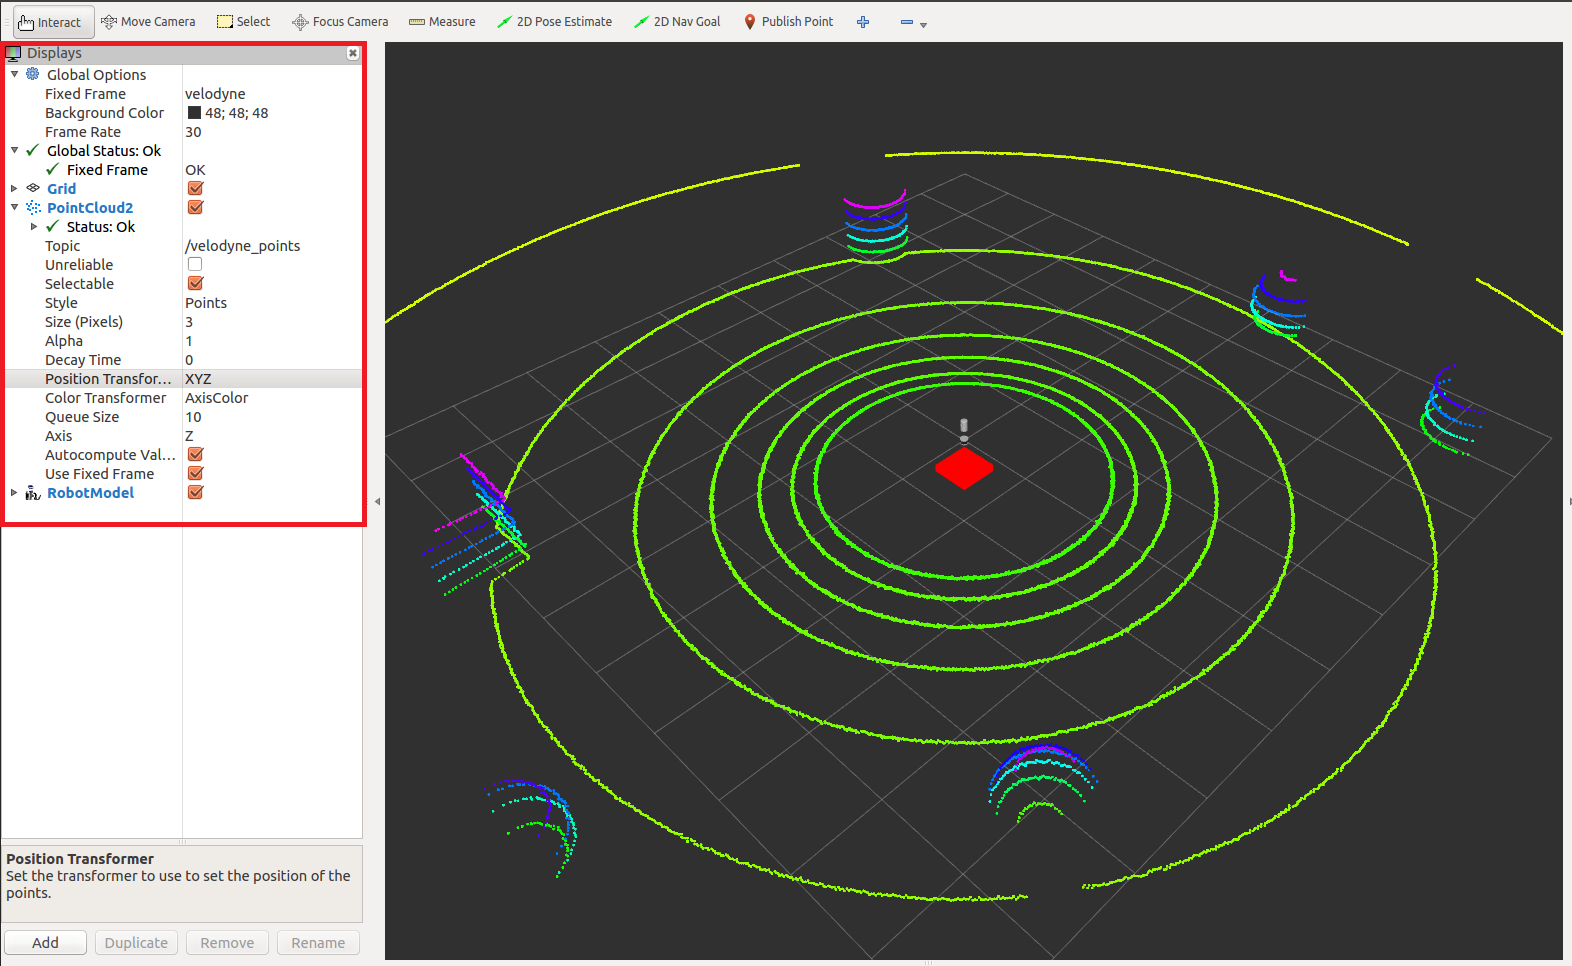
You can visualize the sensor data in Rviz by adding display types such as PointCloud2 and Robot Model to visualize sensor data and sensor models. You have to set the Fixed Frame to velodyne. You can clearly see the obstacles around the sensor in the following figure: