
Compact Disc Package
Capture a moment with a “mix tape”
The Brief
Create a CD package: front and back cover, inlay card, and disc. Combine type with imagery to convey the mood of the piece.
Trim Size
Booklet: 4.75 × 4.75 inches (121 × 121 mm) Inlay card: 5.9 × 4.625 inches (150 × 118 mm) Disc: 4.75 × 4.75 inches (121 × 121 mm)
Learning Points
Creating a package design
Working with a template
Working with a home printer
Tools
InDesign, Photoshop, camera or scanner
Fonts Used
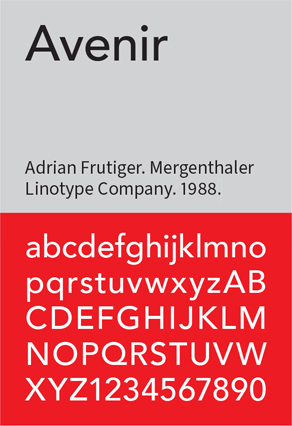
Avenir
Inspiration
Once upon a time, music aficionados made compilations of their favorite music, either to commemorate a moment or, perhaps, to woo a love interest. Music used to be stored on magnetic material and passed from hand to hand with a whisper: “Check out track 3, PJ Harvey. Your mind will be blown. Totally.”
If a Spotify playlist just doesn’t have the gravitas you’re looking for, try this old-school approach. Burn some music onto a plastic disc, design a gorgeous booklet, label, and case to match the mood and tone perfectly, and give it to someone you think is cool. They are guaranteed to be impressed by your old-school flair.
Document setup
This project provides an opportunity to design the several elements that make up a CD package: the booklet (number of pages up to you), the inlay card, and the design for the disc itself.
Numerous templates are available online. These will ensure you have the correct measurements and might also suggest different format options.
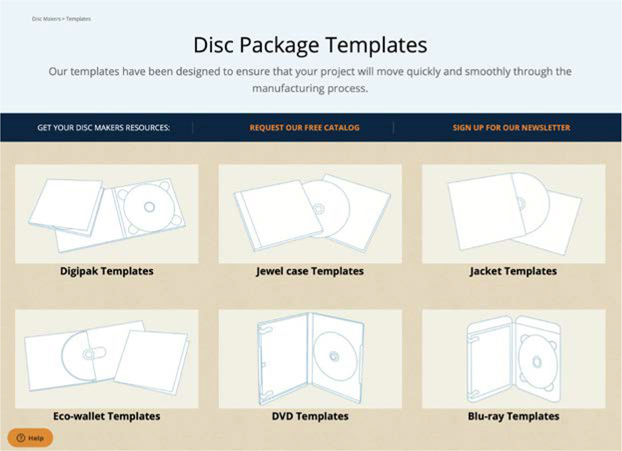
A range of CD templates can be downloaded from discmakers.com/templates.
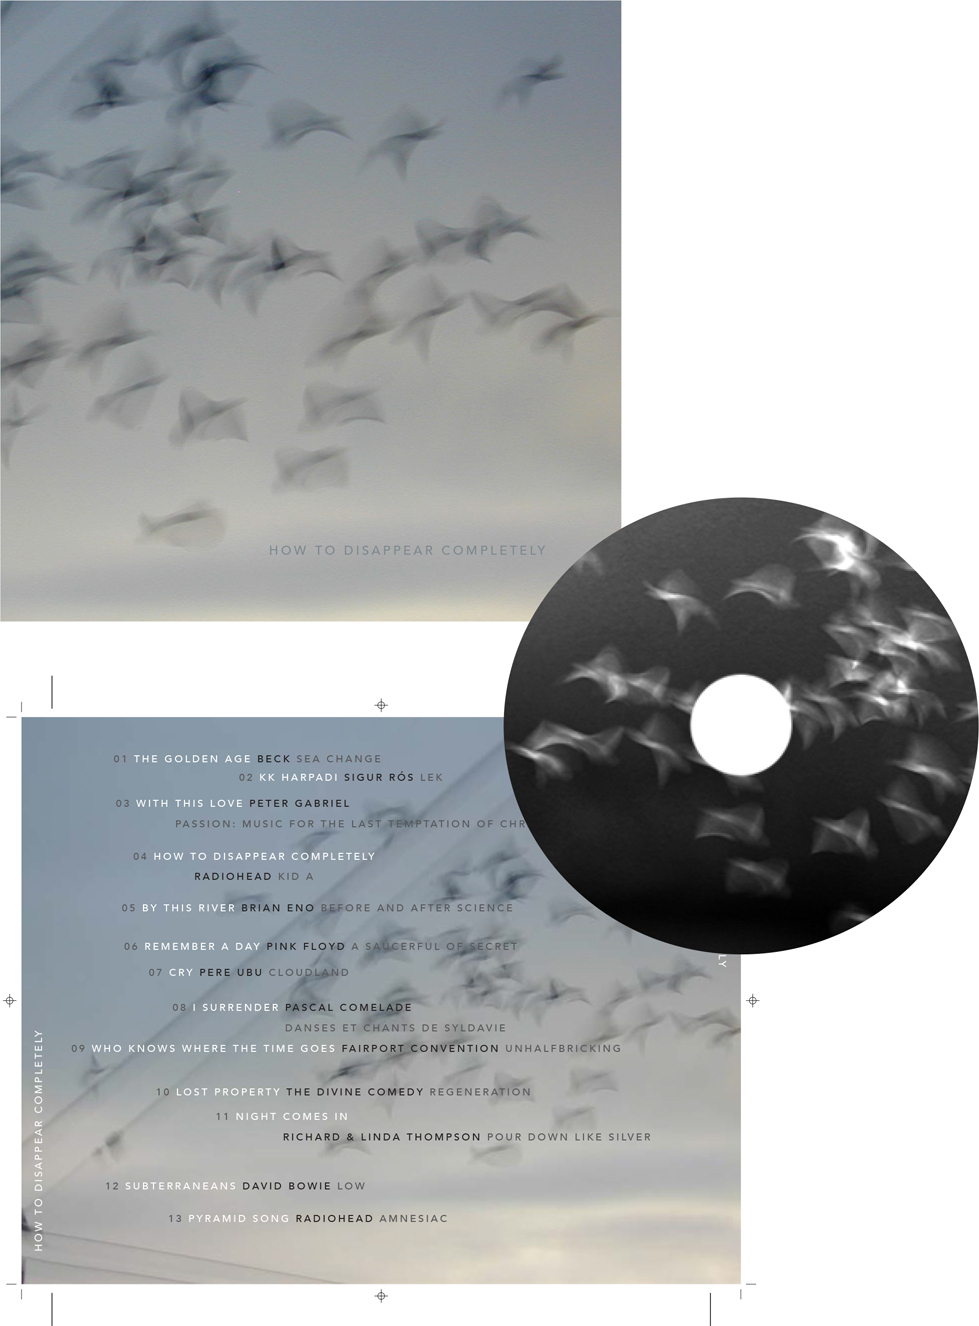
Most packages will consist of the cover/booklet, the tray card or inlay card, and the disc. To tie them together, you’ll need a consistent motif running throughout.
Type choice
Inspired by Futura, the grandparent of geometric sans serifs, Avenir (French for future) is understated, slightly aloof, and made more so by using it in all caps with generous letter spacing. Designed by Adrian Frutiger in 1987 (perhaps the height of the mix tape era), it is slightly less geometric and more organic than Futura and has a traditional two-story a — not something you’ll see here since the type is in all caps.
All the type is at a single size and weight. It is intentionally small and somber. It conveys the information efficiently, without fuss, and without drawing too much attention. The main purpose of the type in this scenario is to convey the information and then get out of the way. Track number, song, artist, and album are differentiated only by color. The alignment is freeform: Each line is a separate text frame, positioned by eye.
Even though there isn’t much text, it’s still best practice to approach the formatting in an organized way. In this context, that means auto-numbering and nested styles. Start with the numbering.
As part of the paragraph style, the numbering can include a character style to change the color of the track number. Because each track is in a separate text frame rather than being a continuous story, you also need to include a List style so that the numbering continues across stories rather than restarting with each one.

Futura vs. Avenir
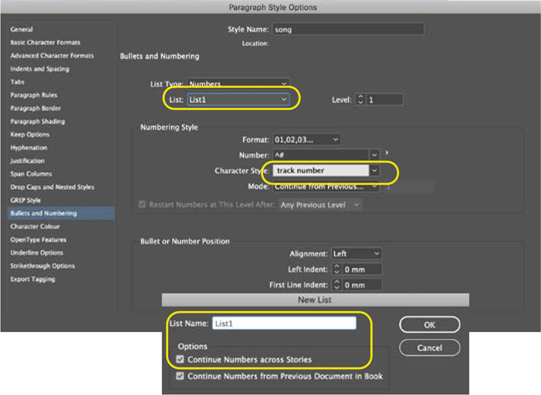
Using List Style (under Paragraph Options) will let you continue your numbering across separate text boxes.
Nested styles are used here to apply the colors to the specific parts of each line. They rely on there being an identifiable pattern in the text to which the character style is applied up to or through. Where no pattern readily exists, as is the case here, the fallback option is to add an invisible End Nested Style character where you want the character style to switch off. This character is buried deep in the menu structure (Type > Insert Special Character > Other), so to do this quickly, make a custom keyboard shortcut. Choose Edit > Keyboard Shortcuts, and you’ll find it listed in the Product Area: Type Menu.

Nested styles allow you to set styles for different items in the same text field — useful when you have a track number, track title, band name, and possibly more.
Photo choice
The technical quality of the imagery is less important than its personal or evocative qualities. Which is to say that it doesn’t necessarily matter if it’s a “good” picture so long as it has meaning to you and the recipient. The picture we used here (three times with varying crops) is from Nigel’s “blurry” period (still ongoing) — moving the camera while taking the shot for a slow shutter speed effect. He wasn’t aware of it at the time, but this technique even has a name: Intentional Camera Movement, or ICM for short.
Inlay card
Make sure the type on the spine reads the correct way. It’s irritating to shelve a CD with a wrong-reading spine type alongside others. The rotation should be 90° counterclockwise on the left spine and 90° clockwise on the right. You can use InDesign’s Rotate Spread feature (View > Rotate Spread) while working on the spine — it beats rotating your head at 90° angles.
Printing
If you have CD burner (an increasingly rare commodity as CDs themselves become obsolete) and a decent desktop printer, you’ll be able to produce the whole package yourself. To print and assemble the CD at home, include crop marks on your printouts. To add these to any of the components, you can use the Crop Marks script that is installed with InDesign.
If you are making more than one CD, you may want to gang up several copies on the largest size of paper your printer can handle. Avoid glossy paper as it is hard to score and fold. Gently score along the fold lines of the spine with the back of the X-ACTO blade. Be careful — those things are sharp, and we have the scars to prove it.
Label
Peel-and-stick CD labels are readily available at office supply stores. The typography on the label should be as simple and as minimal as possible, even to the point of not being there at all, so long as the image ties the disc to the rest of the package. Keep in mind that whatever picture you choose, it’s going to end up with a hole in the middle! You could even incorporate the hole into your design. Take a look at these examples: www.tekkaus.com/2010/02/22-slapstick-cd-designs-which-is-your.html.
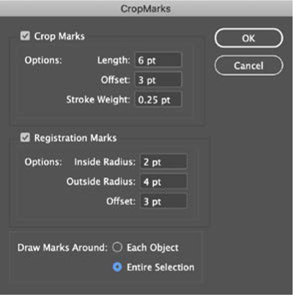
You can create the document at a standard page size from which you can trim the artwork. To add crop marks in InDesign, select the object(s) and choose the Crop Marks script (Scripts > Application > Samples > JavaScript).