
Type Map
Create a map exclusively from type
The Brief
Create a city, country, or continent map where the areas are represented by type
Trim Size
US Letter/A4
Learning Points
Using the Touch Type tool in Illustrator
Working with variable fonts
Working with Illustrator clipping masks
Tools
Illustrator
Fonts Used
Acumin Variable Concept
Inspiration
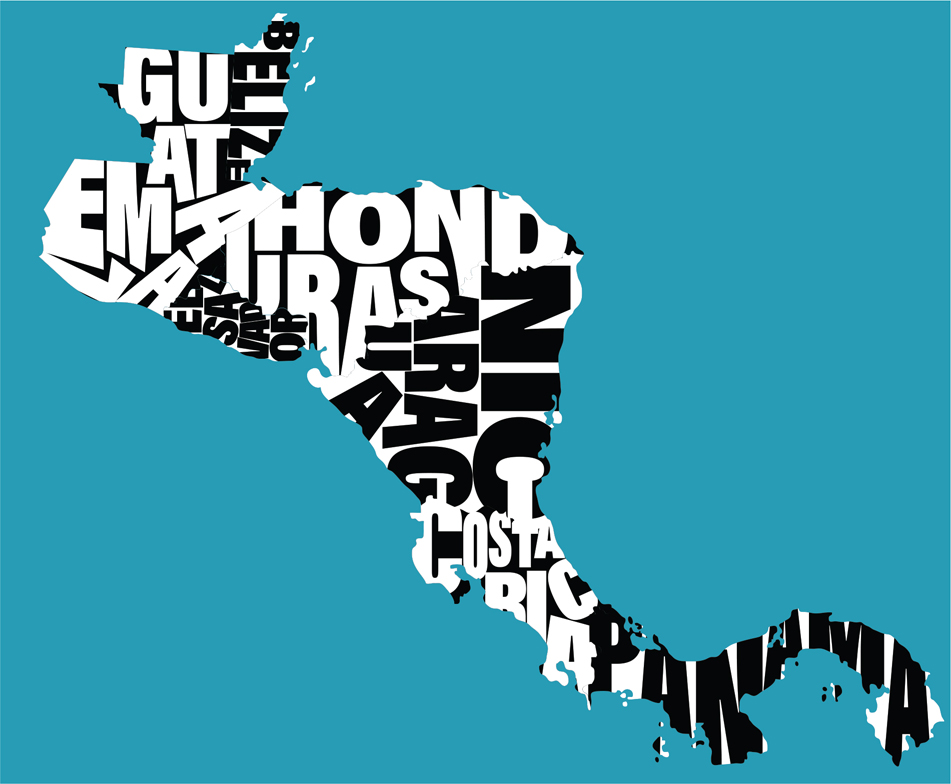
You’ve probably seen this type of cartographic treatment around. It’s a design trend that has become a staple of design and craft sites like Etsy, as well as tourist art galleries: a type map, in which type is fashioned into the boundaries of each country or state in such a way that the word and the shape seem to merge into one thing.
The silhouette of some countries or continents are so instantly recognizable that the name pops into your head the moment you see them. When you see the shape of the continental United States, you instantly think USA. Likewise there’s no mistaking the shape of Italy, or Africa, or on a smaller scale, the Isle of Wight (once you’ve seen its diamond shape, you’ll always be able to pick it out in a lineup).
Why not double down on this aspect of our cognition and combine the letters of a region into its silhouette? You can take some liberties with the type because audience will use both the shape of the country and the type to complete the image in their minds. Go large with a country, continent, or even the whole world, or keep it local — your state, county, city, or maybe just your neighborhood.
Preparing the map
Start with a vector map. I (Nigel) downloaded mine from vecteezy.com, but you can find many free or low-cost alternatives. Some cleanup and organization will be necessary. I discarded anything extraneous — all I wanted was the country outlines. One by one I moved each country to its own layer and named the layers. Lock and hide the layers as you work. Option/Alt-click the locking column to toggle between locking all but the target layer and unlocking all layers. Option/Alt-click the visibility column to toggle between hiding all but the target layer and showing all layers. This setup can take a while, but it pays to be methodical — it’s no wonder I chose a region with only seven countries!

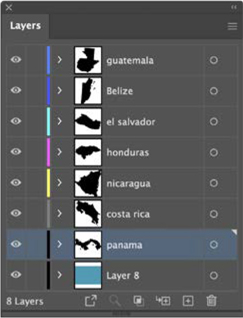
For ease of working, isolate each country, and associated type, on its own layer. These can be shown and hidden and, to prevent mistakes, locked when you’re working on other layers.
Choose the type
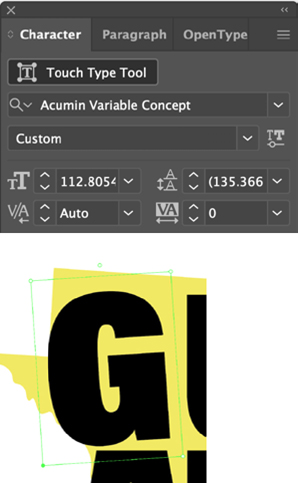
As is often the case, I found it helpful to set some rules for the project — even though I know that I will end up breaking some of them. For the type, I chose to limit myself to a single sans serif typeface. If that sounds restrictive, I ensured I would have the flexibility I needed by choosing a variable font (Acumin Variable Concept).
Variable fonts have been around since 2016, and you can use them in the most recent versions of InDesign, Photoshop, and Illustrator. Each variable font (identifiable on the Font menu by the VAR badge) is essentially its own super family, offering a continuous range of weights and widths from a single master font. The number of axes can vary from font to font, but Acumin is fairly typical in having three: weight, width, and slant. On the Character panel, click the Variable Font button to the right of the style name to experiment with sliders and create instances of the font.
I wanted a variable font so that once my type was roughly in place, I could vary between an ultra condensed and an extended width to better fill the country shapes. While I could have also changed the weight and the slant, I chose to keep these constant, thinking that too many variations would result in visual confusion. It’s a fine line between consistency and giving yourself the adaptability that you need.
Another rule of the game was that I was only allowed to rotate the type in 90° increments (to start with at least) for the same reason: too many angles and the result would be too chaotic.
Aiming for a dense but still legible type treatment that fits in some creative way into its allotted shape, I broke each word into syllables, so that I could more effectively shoehorn word fragments into convenient niches and make optimum use of the space.
Map out how the country names can squeeze into the country shapes, where the words will be broken, and how they will be rotated. To start with, I restricted myself to angles of rotations of 90° increments.

Acumin Variable Concept has three axes. I used the Width slider to more easily make the type fit — and fill — the enclosed, irregular shapes of the country outlines. Note that the Variable Type panel can be frustrating. It doesn’t stay open, and it’s not as easy as it should be to enter the values numerically. However, it is early days for variable type, and things will almost certainly improve. Maybe by the time you’re reading this, they already have.

The extreme ends of the width (50–155)and weight (100–900) axes. You can create instances at any interval between.
Using the Touch Type Tool
Once the type was scaled and rotated into position, I turned to the Touch Type tool to take things to the next level. The Touch Type tool allows an amazing level of control on a character-by-character basis while still retaining the type as editable. Just be aware that every change you make will affect all of the characters in the word to the right of the character you’re working on.
Convert to Outlines
I wanted to go as far as possible to retain the type as editable text, but when I could go no further, I converted the type to outlines: Type > Create Outlines (Cmd+Shift+O/Ctrl+Shift+O). Using the Direct Selection tool, I then pulled the anchor points around, distorting the stems of letters to further fill the gaps.

After converting the letters to outlines, with the Direct Selection tool I distorted the letter shapes to fill as much of the negative space as possible.
The Touch Type Tool allows you to move, rotate, and scale individual letters, while keeping the type editable. If you don’t see it, choose Show Touch Type Tool from the Character panel menu.
Add clipping masks
Parts of the letters inevitably extended beyond the borders, so to clip the country names to the edges, I dragged a copy of the outline to the top of the layer and made a layer-based clipping mask. Any parts of the letters that fall outside of the clipping mask shape are unseen.

To make a layer-based clipping mask, click the triangle to the left of the layer name to see the sublayer.
Drag the country outline (A) to the top of the layer stack (B) while holding Option/Alt to duplicate it.
Click the Make/Release Clipping Mask button (C) to ensure that no content on this specific layer is visible outside of the clipping mask outline.
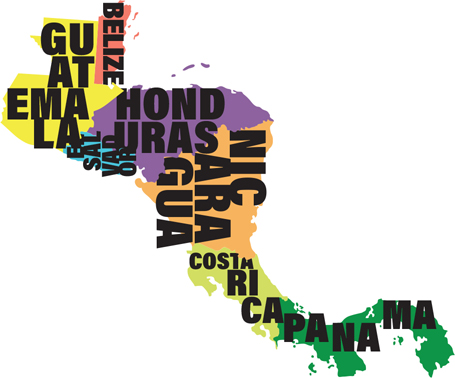
To unify the composition, I chose a black-and-white palette, alternating the foreground/background combination with each country. When you have two colors abutting like this, the interplay of the positive and negative creates a pleasing contrast and repetition that defines the country shape and makes it easy to discern one shape for its neighbors.
It could be that part of the charm of these maps is the way they tease the brain. You look at the map, and your brain thinks, “Wait, am I reading this as an image, or reading this as type? Oh, hey — it’s both!” This is how we designers stay young.