
- First, let's draw around the headlight to get rid of that ugly bit sticking up. Follow the approximate line of the grille and headlight as shown in the following screenshot:
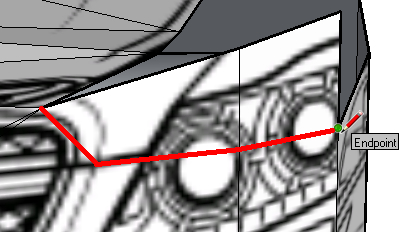
- Erase the upper part above your line.
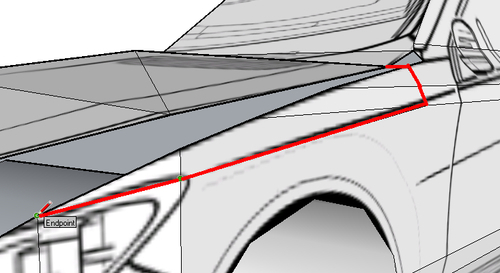
- The car folds on another line slightly further down the side view as shown in the next image. Draw a line along this line and again erase everything above it.
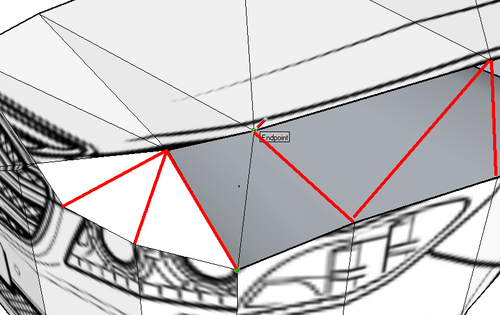
- You now have an even bigger hole, but at least you know everything that's there now is more or less correct. Now it's time to do the patching.
- Using pencil lines, just make triangles between the two edges of the hole, just like the example I've shown here.
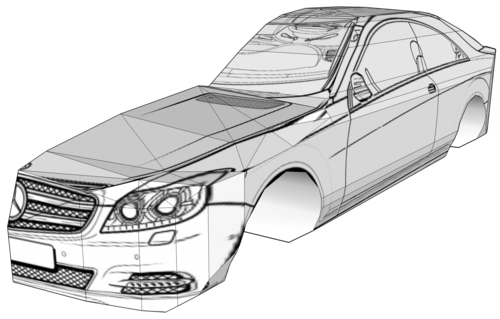
- Before you know it you'll have the car patched up. When you paint the front view back onto the geometry, it all looks much, much better.
First, we found the line on the side of the car where the bodywork starts to fold into the hood. We then drew that line and connected it with the edge of the hood using several lines made with the Pencil tool into the triangular faces. This filled in the surface between the line on the hood and the line on the side.
Now it's your turn. Unhide the side view image and create a wheel on it using the Circle tool, then project the texture onto it, push/pull, and copy it around the car.
Now that your mesh is all but done, let's take a good look at what you have achieved. To gain an idea of how good this geometry can really look like, even without texturing, do the following:
- Delete the face in the middle of the car.
- Select the car body and turn it into a component.
- Copy it and flip the component. Now, stick it back together.
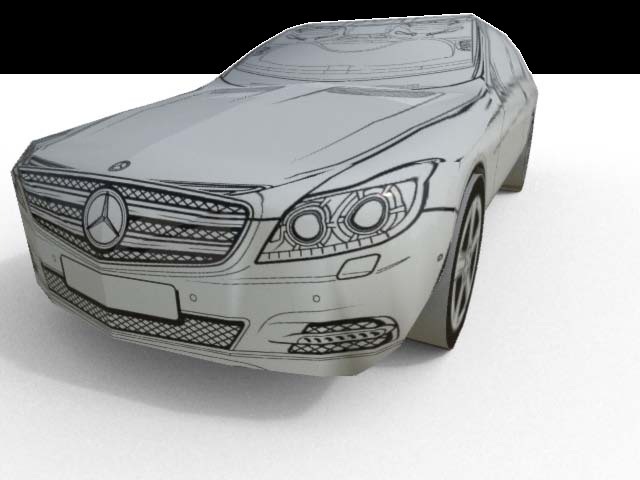
- Select both and then right-click and select Soften Edges.
- If you have a rendering application installed, turn on shadows now and render. If not, download the ShaderLight free version ( http://www.artvps.com/index.php/downloads/try_shaderlight). Just click on the camera button to start rendering.
..................Content has been hidden....................
You can't read the all page of ebook, please click here login for view all page.