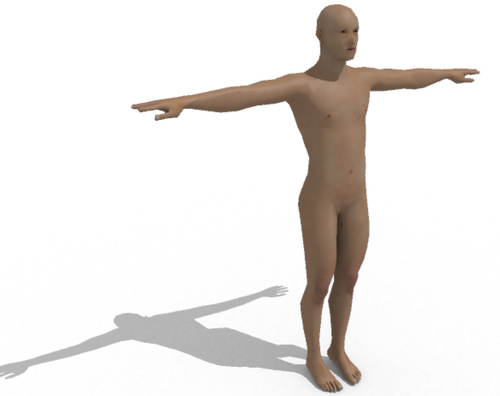
Modeling people in 3D is just about the most difficult task you can undertake. It's best left to an expert in any case, and probably best done in another modeling package rather than SketchUp. But if despite this, you wish to have a go at making a human game asset in SketchUp, there's always MakeHuman, a human maker that's free to download. Isn't that convenient?
- Download and install the latest stable version of MakeHuman from http://www.makehuman.org/.
- You also need MeshLab which we discovered in Chapter 2, Tools that Grow on Trees. We haven't done what we would have liked with MeshLab in this book because it's "work in progress" software and didn't produce stable and repeatable results. Let's have a look at it in the appendix, where it's safe to experiment!
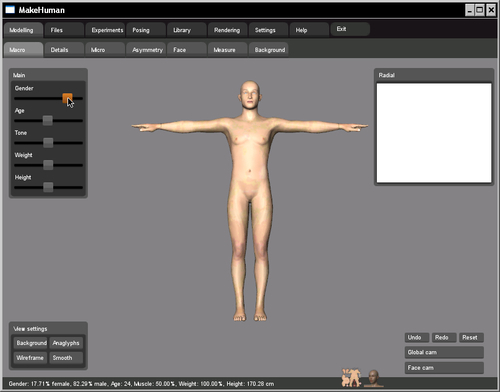
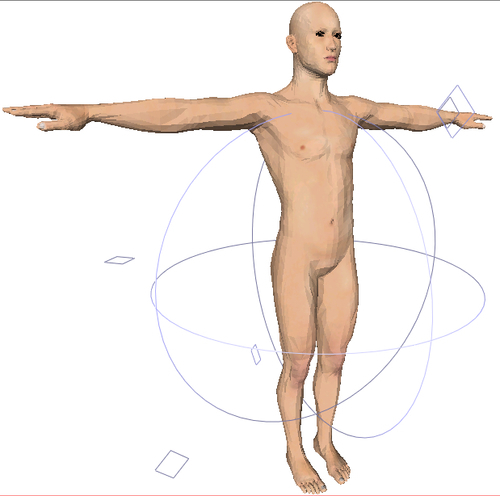
- When these are installed, start MakeHuman. You can experiment with all the settings to adjust Gender, Age, Muscle Tone, Weight, and Height. Those are the basics.
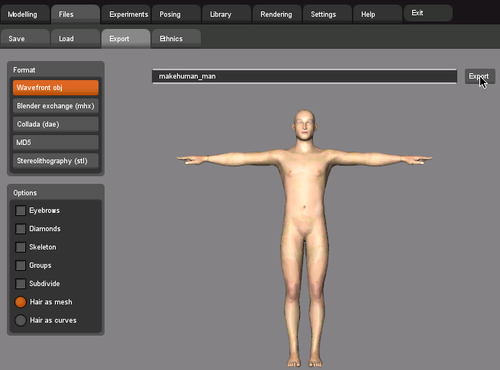
- Now go to Files ¦ Export and deselect all the options. Select Wavefront obj.
- Type in a filename and click on Export. That's all for now with MakeHuman.
- Go to Meshlab and open the file you just exported. You should find it in My Documents | Makehuman |Exports or something similar.
- Here he is in MeshLab:
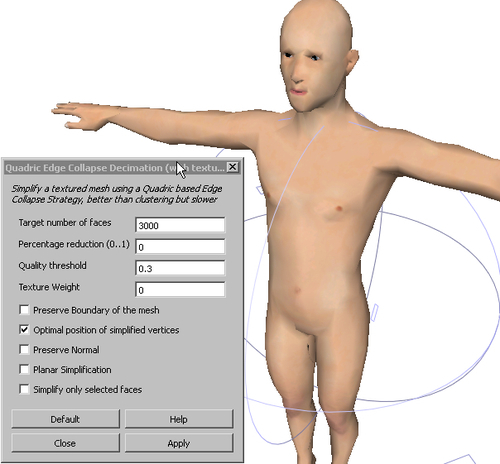
- Did you notice how many polygons (faces) he's made up of? 27,500! That's way too many for game use.
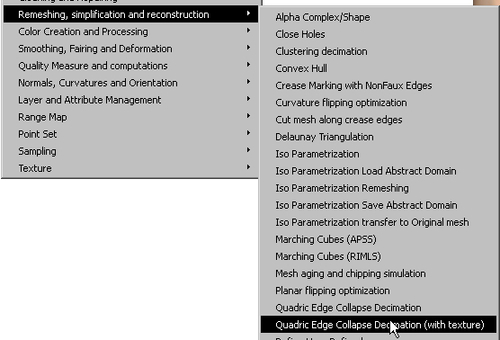
- Go to Quadratic Edge Collapse Decimation (with texture) and try typing in 3000 faces. That should do it. Here he is now with the Smooth view button pressed:
- Go to File ¦ Save As and select 3DS format and Save. Make sure you save him in the same folder as the texture.
- In SketchUp, import the 3DS file. Here, he is:
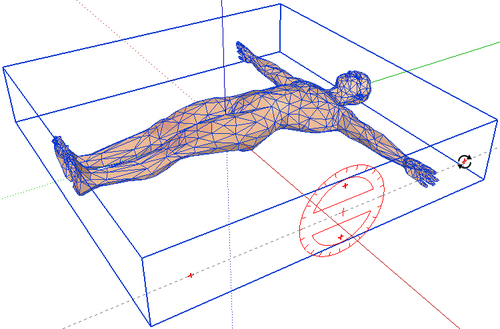
- Turn him with the Move tool so that he's standing upright. Right-click and Explode once, and then use the Soften/Smooth tool.
You just made a textured, high-polygon human in MakeHuman, crunched the polygons down to a manageable level, and imported it into SketchUp. He is now there in all his low-polygon glory, texture and all. Here's a quick render in Shaderlight so you can see the realism even with vastly reduced polygons. You can now use him as a dressmaker's doll to help you model assets such as armor, weapons, or clothing, or work on him much in the same way as you did with the terrain and the car to create a game character or monster.