
- Start just like before and import your rear view image as a layer. This time rather than setting up the rulers to the sides of the car, set them up to the edges of the lights (on the orthographic drawing).
- Scale the photo so that the edge of the lights line up with the rulers.
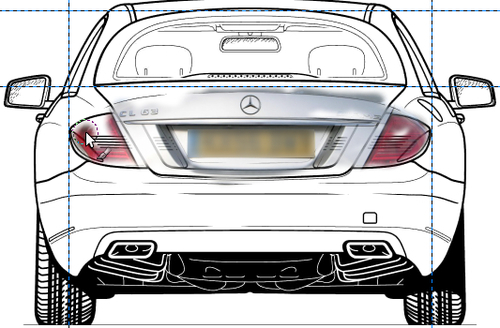
- Set up a Layer Mask for the photo layer, and check the box that says Black (full transparency).
- Get a brush, increase its size in the brush pallet, and paint the main parts of the trunk and lights, as you can see next:
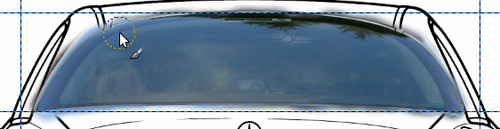
- Switch this layer off. Move the rulers to the top and bottom of the rear window and scale a new copy of the image.
- Use the Scale tool to reduce the layer from side to side.
- Use a mask and reveal just the rear window. It should look something like this:
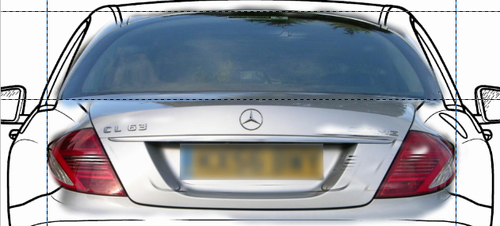
- You can see by now that this method gives you far better control. When you switch on the previous layer, you will see that they blend seamlessly.
- Move the rulers to the side of the car and scale a new copy of the image.
- Move the layer into position using the Mercedes logo to center it, and the line of the bumper to get the height right.
- Repeat the layer masking process. You should end up with the following:
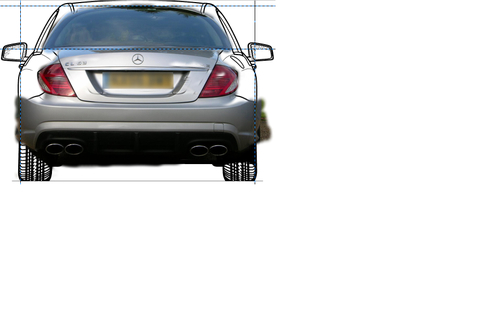
This is a much more accurate and controlled way of texturing. You've taken discreet elements of the car photo, resized them, and painted them onto the base drawing. This has allowed you to retain control over what goes where, and scale the photo much more accurately to the drawing. The second benefit is that you have a complete image, rather than just one side of the car.
..................Content has been hidden....................
You can't read the all page of ebook, please click here login for view all page.