
Let's go and get a building from the 3D Warehouse and get it up to scratch so that it's worthy of being included in our level.
- Navigate to
sketchup.google.com/3dwarehouse/. - Type in your search for the type of building you want.
- Download the model and open it in SketchUp. Here is one I found:
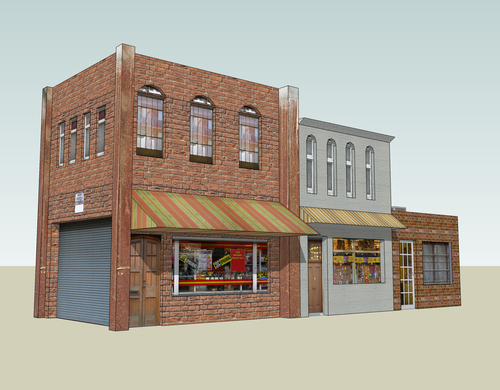
- Looks terrific, but before we import it into our game engine, it is best to check a few things:
- Correct Scale
- If there are too many groups or components
- Textures applied sensibly
- All faces orientated outwards
- At origin
- At right angles to Green and Red axes
- First things first, what about the origin point? The building needs to be at the origin, and lined up with the Green and Red axes so that when you insert the component in your level it will insert where you want it first time.
- There could also be a lot of hidden things in the model, too. The easiest way to deal with these issues is to copy and paste the model into a new file.
- Select the building, right click and select Explode.
- Select the whole building again and go to Edit ¦ Copy
- Now go to File ¦ New.
- Paste the building in this new file (Edit ¦ Paste).
- Now hit M for Move and click the corner of the building.
- Move it to the origin point and click to drop it there.
- Use the Rotate tool and click at the origin making sure it goes blue first. This means the rotate action will happen around the blue axis.
- Now, click somewhere along the front straight edge of the building as shown next:
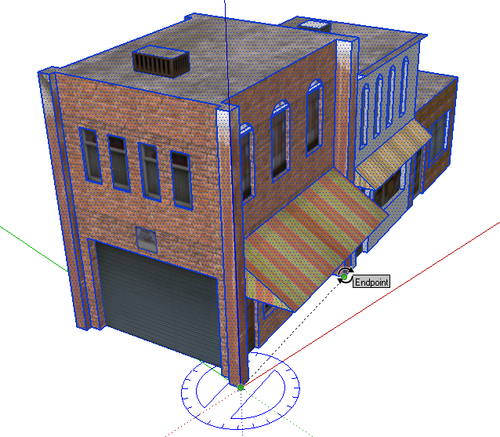
- Move it on to the Red axis until it snaps there and click. You now have the building lined up with the Red and Green axes.
- Now, let's check the scale:
- First, we'll set the units within SketchUp to Meters. Do this in Window ¦ Model Info ¦ Units.
- Use the Tape Measure tool to measure the height of a doorway. This is a pretty foolproof way of scaling a building. It should always be around 2m, so type in 2 then Enter. Click Yes to re-scale the model.
- You now have a scaled model in the right place, and have removed most of the extra bits and pieces someone might have accidentally left in the file.
- All faces in SketchUp have a back and front. It is very important in gaming for faces to be the right way round. Click on the Monochrome view button.
- You should only see white faces. If you see any blue ones, right click and select Reverse Faces.

- Hang on - there's still textures showing in this model. That's because there's some groups or components that haven't been exploded yet. Select everything again and Explode.
- When you have only white faces showing, click the Shaded with Textures button again.
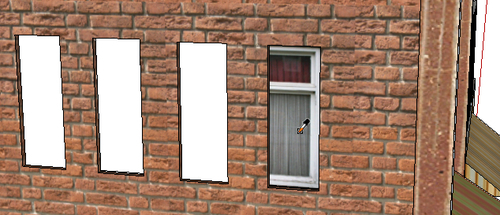
- You might notice if you have reversed any faces the texture will have disappeared. Select these faces one face at a time and re-apply the texture that was there before.
- You might need to use the sample tool in the materials pallet to copy textures from one window to another as shown here. Then use right click ¦ Texture ¦ Position to move them into place.
You imported a model from the 3D Warehouse and did some work on it to bring it up to the standard needed in your game. You can use this method on anything you download and import, not just from the 3D Warehouse. It is not advised to import straight into your game because game engines are very picky about textures and reversed faces. If the back side of a face is showing it will look fine in SketchUp, but in the game it will be entirely see-through.
..................Content has been hidden....................
You can't read the all page of ebook, please click here login for view all page.