Now that your concept design is documented, save that file for reference later, and then start a new one in order to begin work on your actual game level. You will begin by drawing out your plan in 2D in SketchUp, based on your mock up. You'll use this as a basis for your 3D terrains, buildings, and scenery assets:
- Open a new project in SketchUp. Select the Engineering - Meters template. Save the file as
Level_Master.skp. - Go to Camera ¦ Parallel Projection.
- Select the Top view button if you're not already there. You now see a completely flat 2D working area.
- Select the Rectangle tool. Click on the Origin point and draw a rectangle to the upper right-hand side. Click again.
- Now type in 100,100 and hit Enter. You now have a rectangle of 100 square meters.
- Right-click on the face of the rectangle and select Reverse Face.
- Click on the Zoom Extents button.
- This is the extent of your map square, like the square on your chess board. Double-click on the rectangle, right click and select Make Component. Enter the name
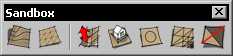
Map_Base_2D. Make sure Replace selection with component is ticked. Now click on Create. - Go to Window ¦ Preferences ¦ Extensions and make sure Sandbox Tools is checked. Now enable the toolbar by going to View ¦ Toolbars ¦ Sandbox.
- Click on the From Scratch button. Now type in 2 and hit Enter.
- Click at the bottom left-hand side of your rectangle and then at the top left-hand side. Move to the right-hand side and click on the top right corner.
- You're right! It's not that interesting yet! Use the middle mouse button to orbit the view, so you can see the square in 3D.
- From the Outliner, select the component called Map_Base_2D. Now, use the Move tool to move it up along the blue axis out of the way, say 30 or 40 meters.
- Select your grid, right click and select Flip Along ¦ Group's Blue.
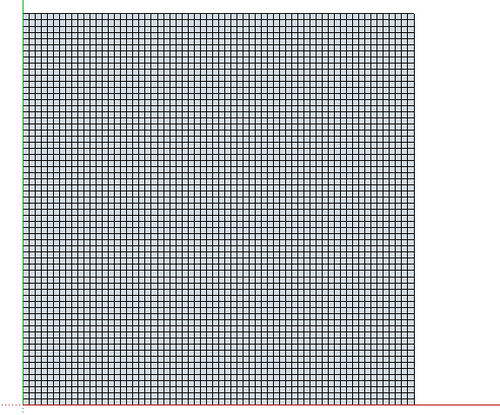
You now have your grid and flat rectangle on top of each other. The grid will form your final terrain. The flat rectangle will contain only the plan's layout drawing. The reason you have placed a copy of it over the grid is because you will later be able to project geometry from it into your terrain. Your grid is 100x100 square meters, made up of a 50m tall by 50m wide grid of 2 squares. The reason you flipped the grid over is because the blue side was at the uppermost side. That's the back side, as you discovered in Chapter 4,Wooden Pallet: Modeling.
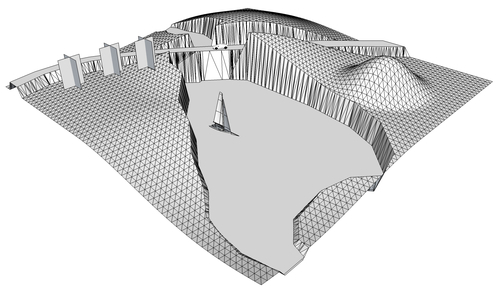
But why do you need to have a grid of squares in the first place? The grid is there so that you can create a 3D terrain. Each of the points on this grid will be raised or lowered as you wish, to create a mountainous, undulating, hilly, or rough terrain. When you've finished this level, you will be able to experiment with these techniques to create terrains very, very, quickly, for example:
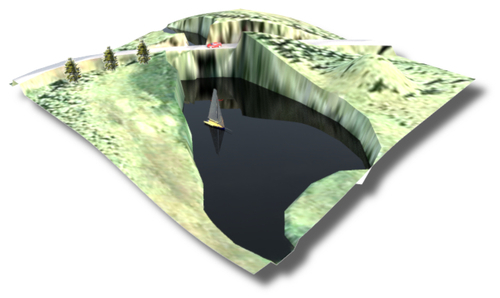
I made this as a quick mock up of a possible game level, using only a Google Earth image and the sandbox tools. You can see the geometry in the next image. You can see that there are quite a lot of faces (polygons) in this square. A lot of them are unnecessary because, as you can see here, many of the surfaces are quite flat or smooth and could be defined with much less geometry than is the case here. You can head to Appendix A to find out how reduce the number of polygons with MeshLab.