- Open your
MB_Master.xcfGIMP file - Go to Image ¦ Mode ¦ RGB. This turns the image into a color image.
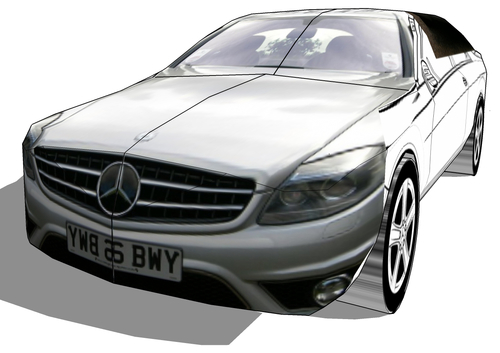
- Go to File ¦ Open as layers and select all your car images. Click on Open.
- The images will open as layers in your GIMP project. Hide all of them except the base layer and the front view.
- Drag the front view image under the front view drawing.
- Drag from the ruler at the side to create a ruler at each side of the car drawing, as shown next:
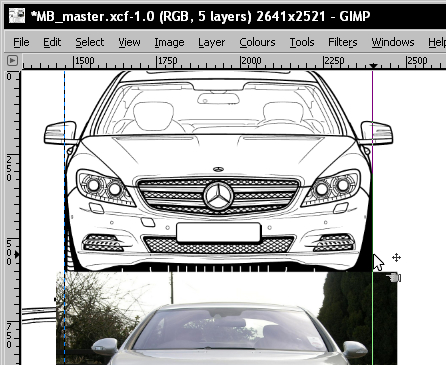
- Select the image layer and move it to line up with one of the rulers. Select the Scale tool and click once on the image.
- Select the Chain icon.
- Use the scale grips on the image to resize the car to fit to the rulers as you can see next:
- Click on Scale when you're done.
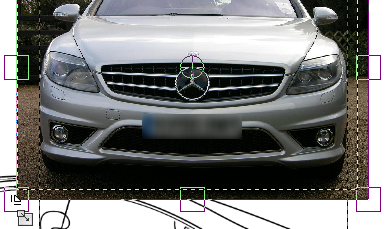
- Use the Crop tool as you've done in previous chapters, and crop out the left half of the car and anything above the hood. Select the current layer only.
- Reduce the opacity of the layer a little and change the layer mode to Multiply. You can now see the two images superimposed.
- Use the Perspective tool to stretch the car out if needed.
- Load the same, or a different front view as a layer again, and move into place for the windshield.
- Move the layer below the previous one in the layers pallet, and change the opacity and Mode as before.
- Use rulers for the top and bottom of the windshield and scale the image.
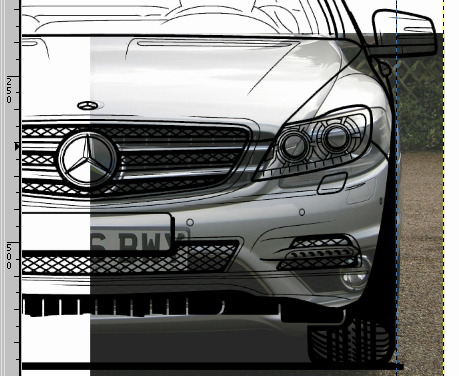
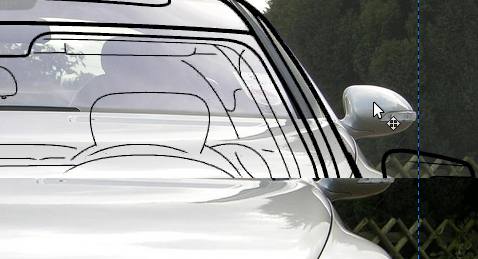
- Now use a layer mask to show some more of the second image through where shown in the next image sequence.
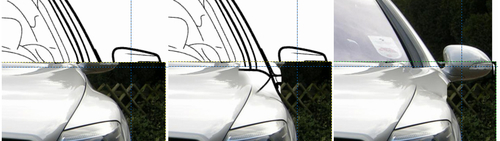
- Crop the second image layer like you did with the first.
- You should now have something like the following screenshot
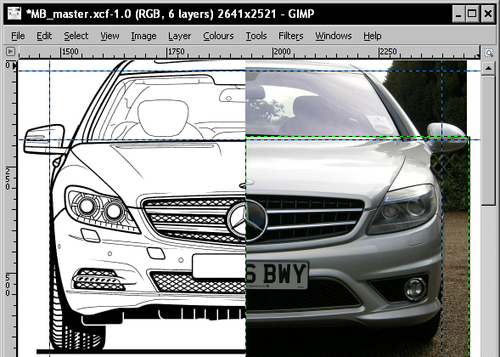
Orthographic drawings depict the world without perspective. Things don't get smaller the further they are away from you. Cameras do. So when you pasted your photo over the orthographic drawing, you had some problems. If you got the front of the car the right size, the windshield looked too small. If you had the windshield right, the front would look too big. What you've done to solve this problem is use two copies of the image stacked one on top of the other. One is scaled to the windshield, and one to the front of the car. You then used a layer mask to modify where you wished each of these two images to show. As you can see from the previous screenshot, it works quite well!
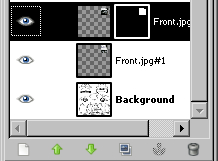
The layers in your layer pallet should look like this:
Save a copy of your texture image and load it into SketchUp like you did before. Your car now updates with the photo texture on the front.