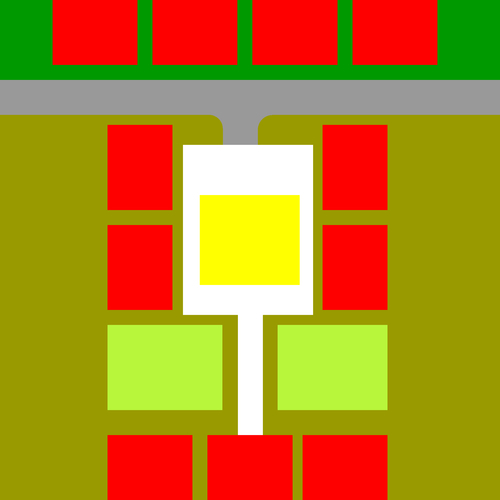
- When you're done, go to the Materials pallet and select a random color. Use it to fill an area of the map. Now, do this for all of the other areas too. You should choose colors that provide good contrast, and you should color similar areas (for example, all the small buildings) the same.

- Make sure you're in the Top view, and Perspective is switched off.
- Now, go to View ¦ Edge style and turn off Profiles and Edges.
- Go to File ¦ Export ¦ 2D Graphic. Now select PNG.
- Go to Options and input a height of 2000 and uncheck the Anti-Alias box.
- Save the image as a PNG file named
Map_Selection.png. - Open this image in GIMP. Go to Image ¦ Autocrop Image.
- Now to resize the image to the same size as your master texture, go to Image ¦ Scale Image and type in 2048 then click on Scale.
- Go to Select ¦ All then Edit ¦ Copy.
- Open up your
Map_Master.xcffile and go to Edit ¦ Paste. - Right-click in the layers pallet where it says Floating Selection and select New Layer, or go to Layers ¦ New Layer.
You now have a layer in GIMP that you can use to select any of the main areas you need to work on. Try it now by selecting the Fuzzy Select tool and by clicking somewhere in the image. GIMP will now only work in the part of the image you selected. Switch off the Map Selection layer and select the original layer in the Layer pallet. Use the Bucket Fill tool to fill that selected area full of color. Can you see how this can be used to control where you're working on the main texture?
Use Ctrl-Z (Cmd-z on the Mac OS) to undo the Color fill. Save your file. Let's get started on the texture for real.
..................Content has been hidden....................
You can't read the all page of ebook, please click here login for view all page.
