
- In the Project tab, click on the arrow next to Standard Assets, and then select Character Controllers.
- Click on 1st Person Controler and drag it in to the main window.
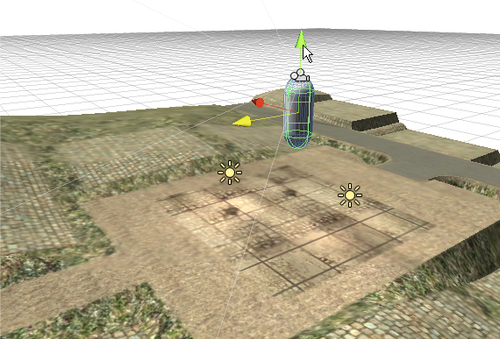
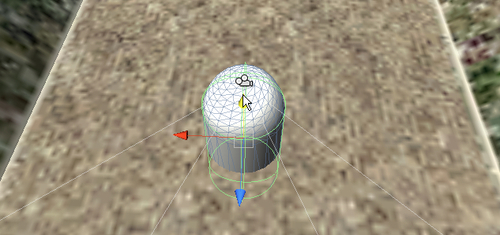
- You will see the character depicted by a capsule-shaped object. You can move this around by dragging the arrows.
- In Transform tab, under Position, type in 0,0,0 in the x,y,z fields, respectively.
- Now, move the capsule around until it's over the starting point in the level. Notice when the capsule moves below the terrain it turns wire-framed. This is how you can work out how high or low to place it.
- Place it so that the bottom is just above the floor.
- Under Transform type 180 in the Y Rotation field. This faces your character along the path.
- This character already has a camera attached to it, so, go ahead and delete the other one listed in the Hierarchy pallet. You don't need it.
- Now go to File ¦ Save Scene.
You just set up your character controller and are ready to start walking around your level. Aren't you excited? The capsule you saw will not be there in the actual game. It's just a visual representation of your character, so that you can visualize where you're placing it, how big it is, and which direction it will face. You can change these things either by trial and error, or by inputting exact figures in the Inspector.
..................Content has been hidden....................
You can't read the all page of ebook, please click here login for view all page.