You now have all the important elements of the car textured. All you have left to do is make sure the different views work together properly:
- Create a new layer and name it Blend.
- Move the Blend layer just above the Background layer in the layer pallet.
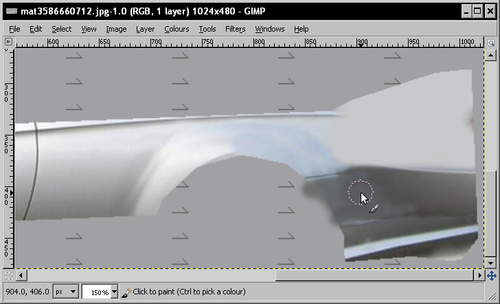
- Select the Colour Picker tool from the main pallet. Now, select the features as shown in the next screenshot:

- Select the layer containing the car bumper, then click on a light area of color on the bumper as you can see here.
- Now that you have selected your color, select the Blend layer and select the Fill tool.
- Click on anywhere in the image to fill the layer with the color you sampled.
Tip
Create a blend layer from images
Even better, find an image that shows a flat area of paintwork without any reflections and create a tiled image out of it. Make it the same size as your current image, and Insert this instead of the Blend layer. You learned how to do all of this in Chapter 5,Game Levels in SketchUp.
- Use your layer masks to fade out all the edges of your images. This has the effect of painting in the same color as your paintwork..
- Take special care to reach the areas where the front, side, or rear view textures join adjacent textures, such as the frames round the windows.
- Now, reduce the opacity of your brush to 30 and go around again, blending the edges into the background gradually. You should have something roughly like the following:
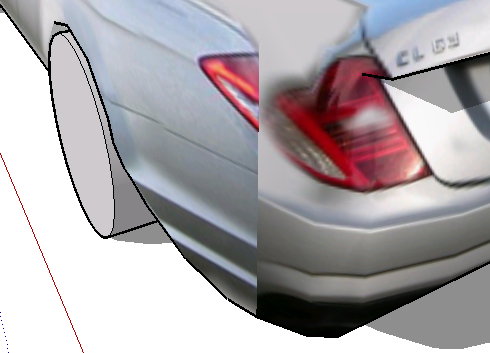
- Load it into SketchUp to see what the car looks like now:
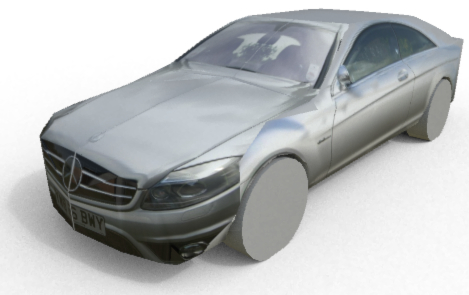
Your car's coming along nicely. You're almost there! There are now no more white areas on your car. You've taken care of it by creating a blanket cover of grey paint to hide any transitions.
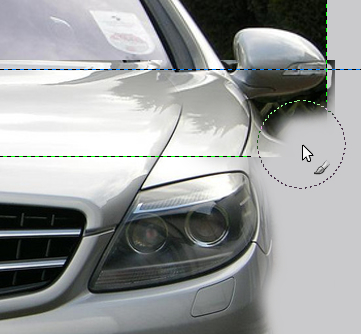
You can see from the previous rendering, and probably from your own model, that in several places the transition doesn't work yet. These transitions (like the one in the next image) fall along the lines of SketchUp faces where you decided to paint the front, rear, or side texture. It's now your job to add extra lines onto your SketchUp model in the best places to join one texture to another. It's then a matter of trial and error to get your texture to match. The main idea is to have two adjoining areas of texture that have the grey background color.
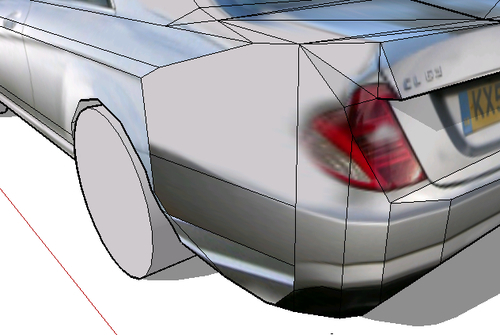
Here's the modified geometry:
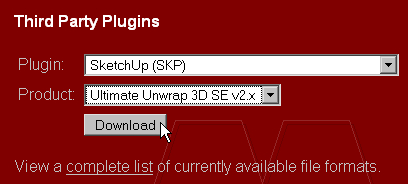
One of the next steps in becoming a game asset guru involves getting to grips with UV unwrapping, which allows you to select some faces and create a single texture map for those faces. This will allow you to blend one area into another seamlessly. There are several plugins available:
- http://www.unwrap3d.com/u3d/downloads. aspx
Just select the SketchUp plugin and download as shown:
- The UTV toolkit (http://tinyurl.com/UV-toolkit)
- Tgi3D SU Amorph Training Edition (http://www.tgi3d.com/index.php?Page=Download).
Try out Ultimate Unwrap 3D or Tgi3D and fix the texture on your car. Do this by selecting the faces involving the blend area and creating a texture for those faces using the UV tool:
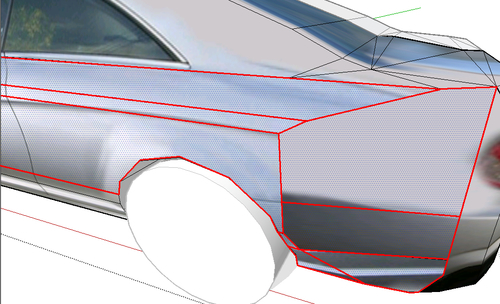
With Tgi3D this is done by right-clicking and then selecting Create texture. After you do that, a pop-up window will show where you will enter the following values:
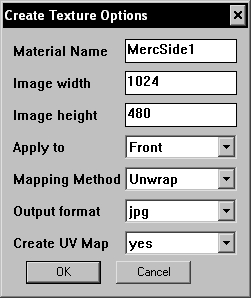
Then select the new texture in the Materials Pallet and edit it in GIMP: