
It's easy to set up a G Suite for Business account, but to make it as straightforward as possible, it's best to have a few things prepared before starting.
As a G Suite admin, the first thing you need is the name for your new business account, as it will be seen by the world. For example, I chose to use the name of my personal blog, Cesar's Tech Insights. You will also need the business address information and the credit card that will be used for the monthly payment. If you don't have a credit card on hand, you can still register the new account and set up billing later. Google will hold your account for about 10 days and you will receive a notice three days before the deadline, after which the account will be permanently deleted.
There will be no charges related to G Suite for the first 14 days, but if you buy a new custom domain, you will have to pay for it immediately. It is possible to use a previously existing domain, or to cancel G Suite but keep the domain.
The following are the steps required to create and register a G Suite for Business account:
- Let's open a browser window, go to gsuite.google.com, and click on GET STARTED on the top right corner, as shown in the following screenshot:

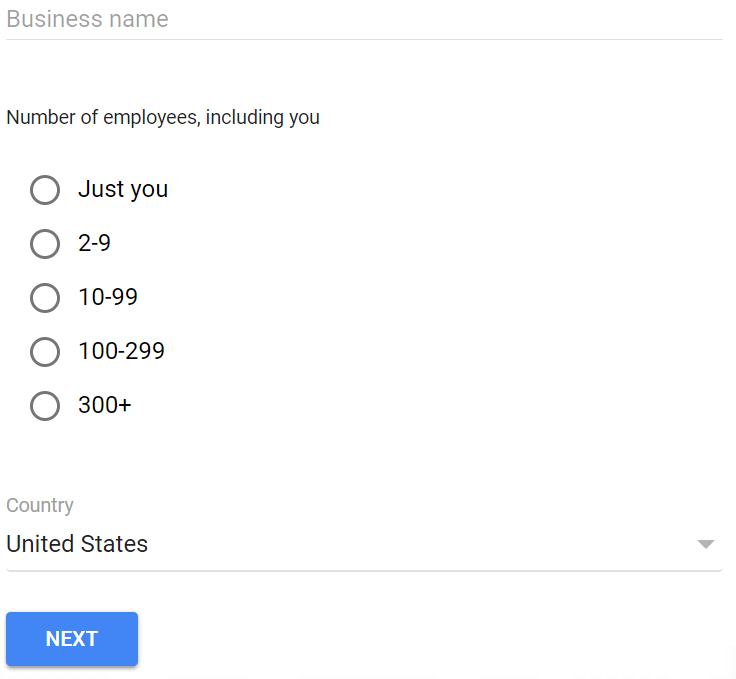
- Welcome to the Let's get started page. Here, you need to type a Business name, the Number of employees, including you within the organization and the main Country of operations. You can type your name as the Business name if this is a professional account. Click NEXT when you finish:
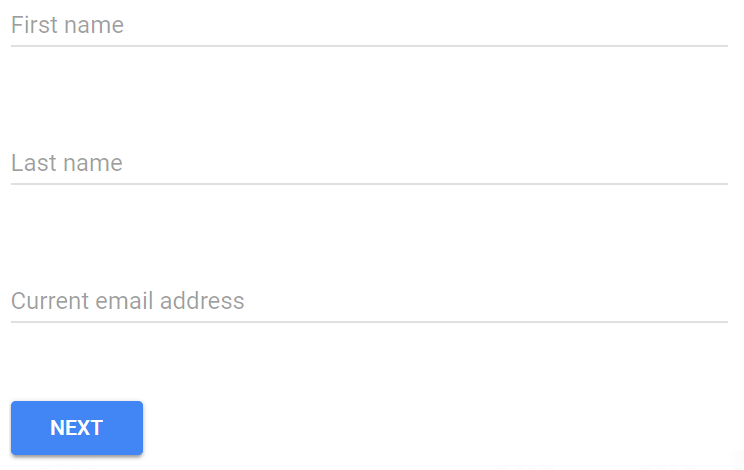
- On this step you need to provide your contact information for this account. Just type in your First name, Last name, and Current email address. Google will send the account information and next steps to this email. Click NEXT when you finish:
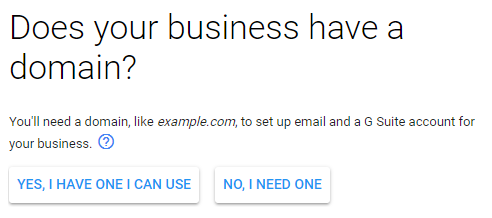
- In this step, you will select this account's domain, which will be used at the end of all accounts and any website. You will be asked if you already have a business domain or if you need one. For now, click NO, I NEED ONE to create a new one:
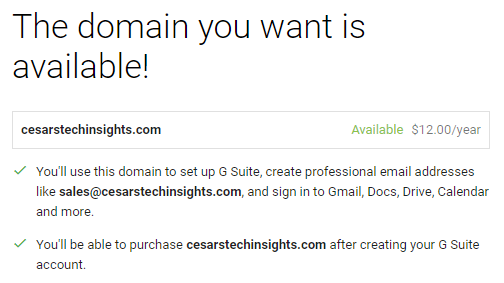
- Type the address you would like in the search box and verify whether it's available:
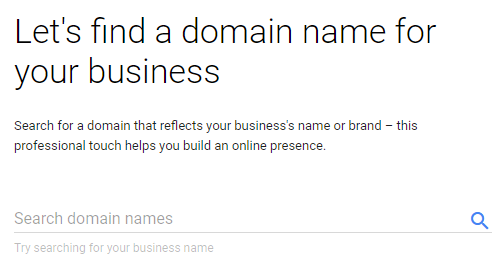
- Try looking for domains that match your business name. Keep in mind that some domains are more expensive than others. For example, I chose cesarstechinsights.net instead of cesarstechinsights.com, as .net domains are cheaper. Using a .co domain is a popular alternative with startups, since it still has plenty of available domains and it's shorter than .com, while remaining familiar. Once you've found the desired domain, click NEXT to proceed:
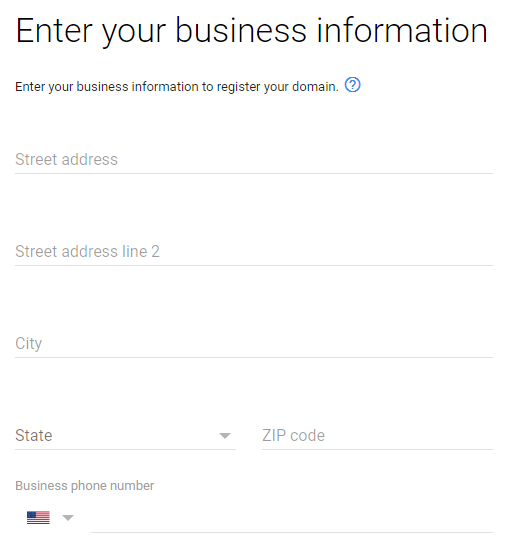
- Now it's time to enter business information for the account. You will be asked to provide your address, city, country, ZIP code, and phone number. After filling all fields, click NEXT to go to the next step:
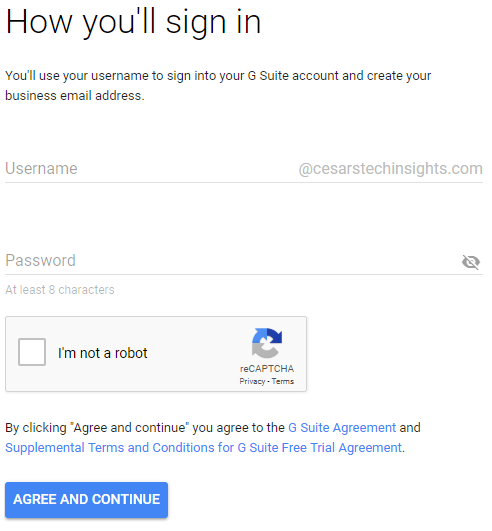
- To finish the G Suite account registration for our domain, we need to create an email for the administrator. I recommend using admin@businessDomain.com and a password of at least eight characters. Make sure to use a combination of upper and lowercase letters, and some special characters for added security. Before continuing, you must prove that you are not some automated software pretending to be a human. For this, click on the checkbox next to the I'm not a robot button. You may be asked to complete a simple challenge to prove you are human. Once you have provided the administrator's username and password, and completed the reCAPTCHA challenge, click on AGREE AND CONTINUE to finish the initial registration flow. If you are using the Chrome browser, Google Smart Lock will offer to remember the login credentials for you automatically:
A Welcome to your G Suite trial email will be sent to the email you used at the setup process, containing the username, domain, subscription type, trial end date, a direct sign-in button, and a URL, which will be http://admin.google.com/ plus your custom domain. Click the Sign In button to begin your first sign-in. As a final confirmation step, you will be asked to validate your identity by providing a security code sent to you through the phone number you registered. You can choose to receive a voice call or an SMS message. Pick the one that you prefer and input the code to finish the validation process. You will see a Welcome to your new account message, containing a summary of the terms and conditions, with some links to places were you can read more details. After you finish reading and understanding them, click the Accept button to finish the initial setup and go the G Suite administrator's home for the new account.
Before we start using the new account, click on the Billing icon to set up payments. If you didn't sign up for G Suite Enterprise, you will be able to choose from G Suite Business or Basic editions. Choose the one that best suits your business needs. Here, you should choose the billing country and currency. This will affect your payment options and you will not be able to change this information later. The payment methods vary from country to country. The most common way is to use a Visa, MasterCard, or American Express card, but in some countries it's also possible to link it directly to your bank account.
Congratulations! Your G Suite for Business account is now fully active. Remember, there will be no charges until the end of your trial period.