

Selecting
There are several tools used for selecting objects.
Select tool: The Select tool activates the selection mode and de-
selects the Move, Rotate, or Scale tool if any of them are
selected.
Select By Name: The Selection By Name tools allows you to
view an alphabetical list of all the objects in your scene so you
can easily select them. By default in the Windows OS, you can
press and hold Shift and select an entire list, or you can pick
specific items by pressing and holding Ctrl and clicking the
name in the list.
Selection Sets: Selection sets allow you to save specific selected
objects that would take time to select again. For example, if
you are modeling a complex machine and want to quickly se-
lect all the bolts and pipes, you can save a selection set that
will recall and reselect all the objects in the selection set.
Selecting From Layers: With the layer system it is possible to
pick all the objects inside a layer or hide or freeze the objects.
359
Appendix A – 3ds Max Polygonal Modeling Quick Start Guide
Figure A-32: Select Objects window.

Selection Marquee
In 3ds Max you can select from four different methods of creating
the selection marquee.
Rectangular selection region: The standard selection method.
Circular selection region: Creates a symmetrical circular selec-
tion marquee.
Fence selection region: Creates a faceted marquee selection
similar to the polygonal lasso in Photoshop.
Lasso selection region: Creates a freehand selection marquee
The toolbar has an icon that represents the behavior of the edge of
the selection marquee: . The icon on the left selects everything
the selection marquee touches, and the icon on the right selects
everything inside the selection marquee.
Grouping and Linking
In 3ds Max we can link objects to one another and group them
together.
To group objects, select them, go to the menu item Group |
Group, enter the group’s name, and press Enter or click on the OK
button. When you select any of the objects, the entire group will be
selected. Go to the menu item Group | Open to make an open group
so you can select the objects individually. Notice that the selection
bracket will be visible even if the group is unselected. The brackets
will enable you to select the group.
Link and Unlink can be accessed by the Select and Link button
and the Unlink Selection button .
360
Appendix A – 3ds Max Polygonal Modeling Quick Start Guide
Figure A-33: Selection marquee options.

To link two objects, click on the geometry that you want to be
the “child” object, hold the Select and Link button, and release
when the cursor is over the object that will be the “parent” object.
Notice the link line being drawn in the viewport to indicate the link.
To break the link to the child object, select the child object and
click the Unlink Selection button.
Colors and Shading
The colors and shading of an object can be easily changed by apply-
ing a simple Blinn standard material.
To change the color of the wireframe, select the color box in the
Name and Color tab in the modifier panel, then make changes in the
Object Color window.
You can increase or decrease the specular value before starting to
model, as shown in Figure A-35.
361
Appendix A – 3ds Max Polygonal Modeling Quick Start Guide
Figure A-34: The Object Color window.
Figure A-35
Normals
Normals can be accessed with either the Edit Normals or Normals
modifier.
The Normals modifier is a bit older and has only two options:
Unify and Flip.
The Edit Normals modifier offers more options for manipulating
and controlling normals. If you check the Show Handles option,
you’ll be able to manipulate the normals freehand.
Polygon Creation
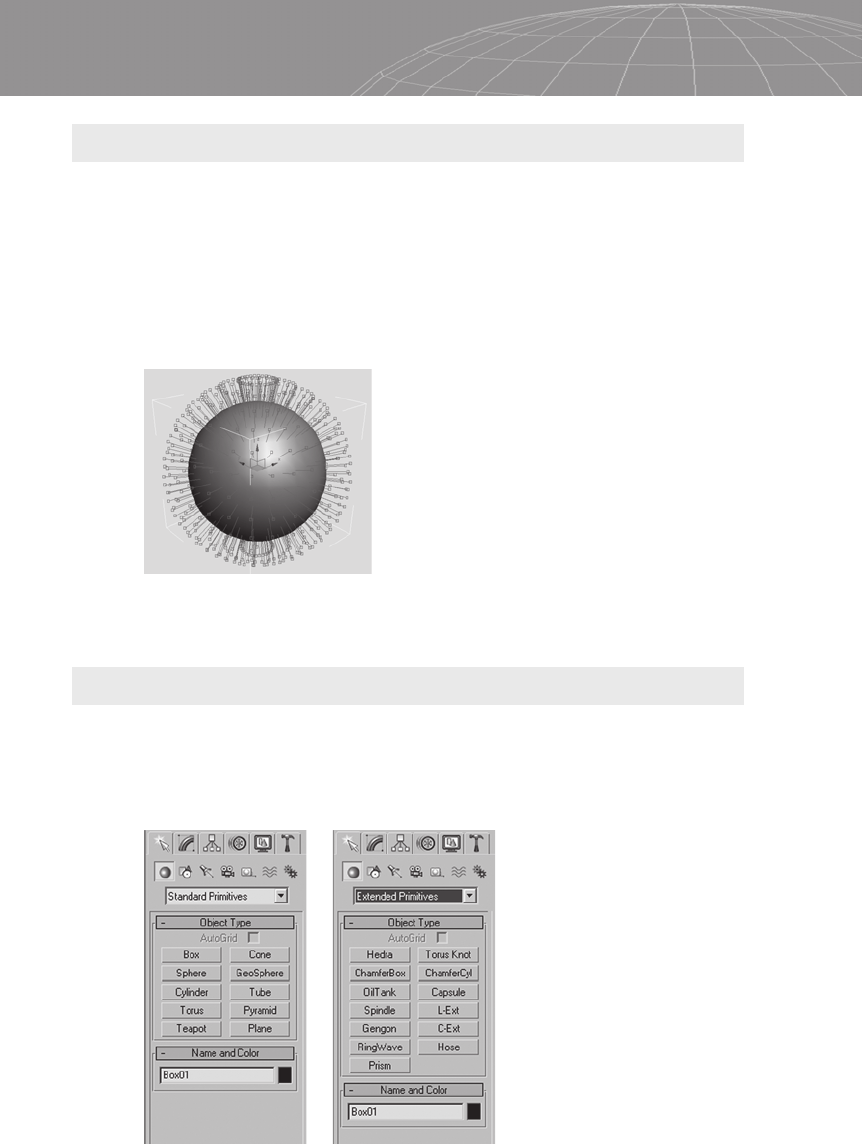
3ds Max probably has the largest number of primitives available in
any 3D package on the market. The standard primitives you can
choose from are shown in Figure A-37, and the extended primitives
are shown in Figure A-38.
362
Appendix A – 3ds Max Polygonal Modeling Quick Start Guide
Figure A-36: 3ds Max’s normal handles using the Edit Normals modifier.
Figure A-37:
Standard primitives.
Figure A-38:
Extended primitives.
The standard primitives are Box, Cone, Sphere, Geosphere, Cylin-
der, Tube, Torus, Pyramid, Teapot, and Plane. The extended
primitives are Hedra, Torus Knot, ChamferBox, ChamferCyl,
OilTank, Capsule, Spindle, L-Ext, Gengon, C-Ext, RingWave, Hose,
and Prism. To create primitives in 3ds Max, you must click and drag
to create instead of the primitive just popping into the center of the
viewport as it does in Maya and SoftImage XSI.
Operational Tools
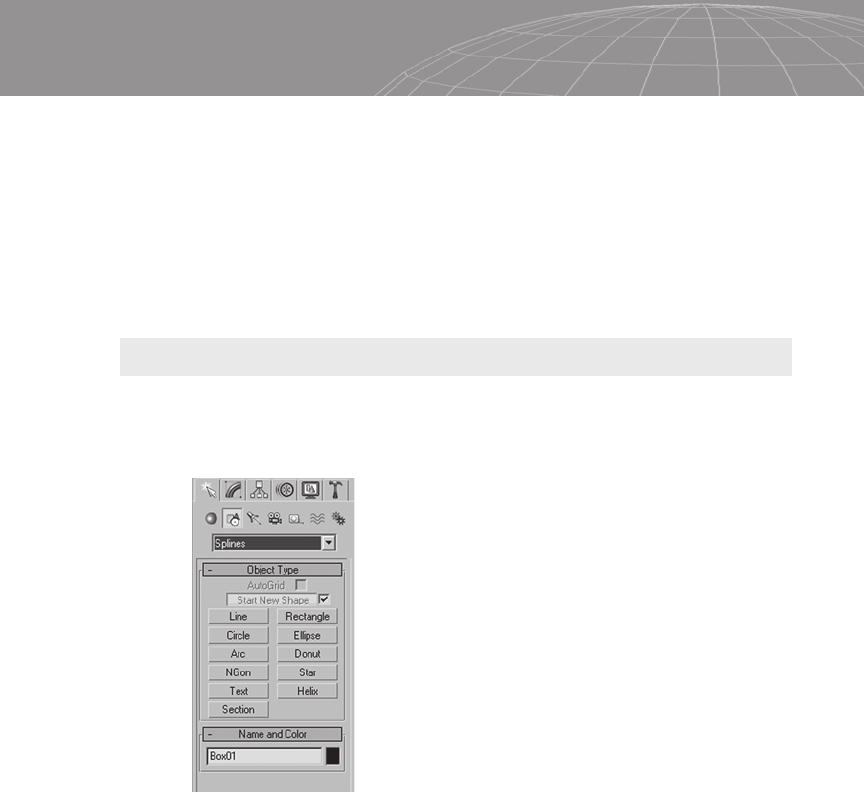
3ds Max offers a variety of spline tools to be used for creating a
mesh with the Extrude, Loft, and Lathe tools. The splines are avail-
able in the Create menu’s Shapes submenu.
In 3ds Max the splines have the same control options as in most
vector drawing programs. If you select the vertices of the splines
and right-click, the quad menu will appear and show the options to
convert that vertex to a bezier vertex.
Operational tools in 3ds Max are available under the Create
panel with the Geometry button selected. The first option in the list
is Standard Primitives. Click on the list and more options will
appear. The operational tools mentioned are located under the Com-
pound Object option.
Boolean: 3ds Max allows you to perform union, subtraction, and
intersection operations.
363
Appendix A – 3ds Max Polygonal Modeling Quick Start Guide
Figure A-39
..................Content has been hidden....................
You can't read the all page of ebook, please click here login for view all page.