
By default, Maya has predefined five viewport layouts:
Single Perspective View
Four Views: Top, Side, Front, and Perspective (Persp)
Outliner/Perspective, for scene management
Perspective/Curve Editor, for animators
Hypergraph and Perspective, for node management of complex
objects
Gizmos and Manipulation
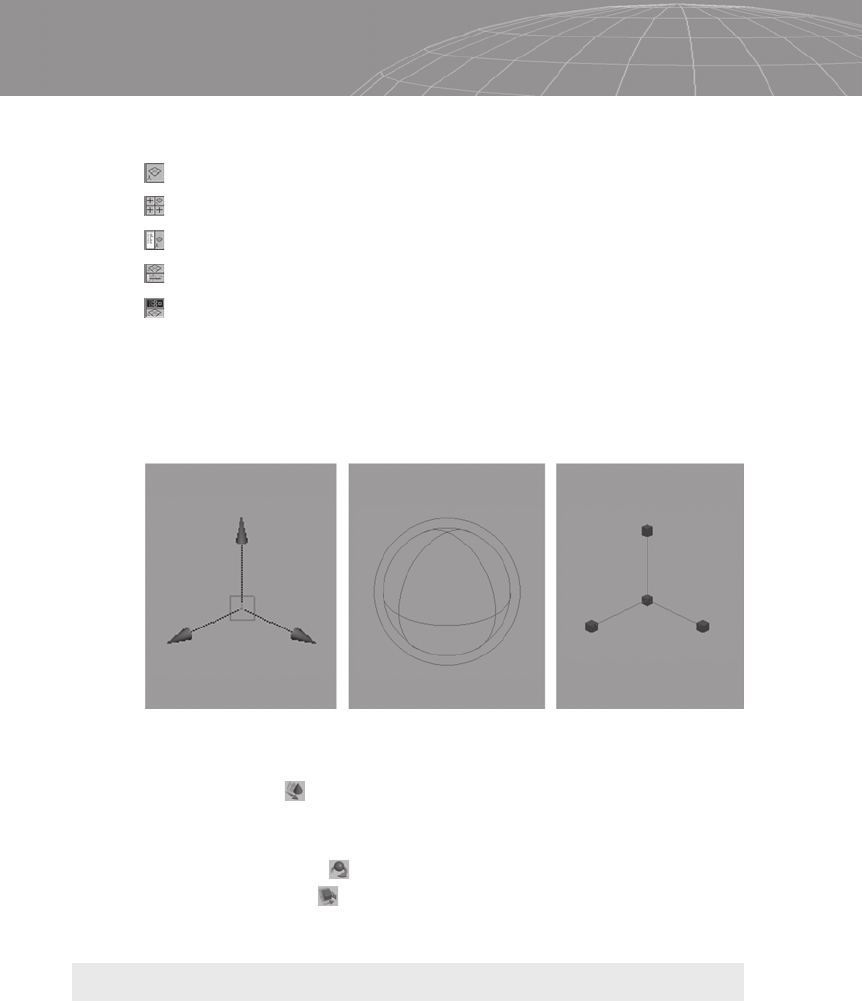
The Move, Rotate, and Scale gizmos in Maya are similar to those in
many other packages.
The Move tool translates the object in the selected axis. The
center square moves in all three axes perpendicular to the camera’s
view. Ctrl+click in the gizmo’s axis to lock the gizmo in two axes.
The Rotate tool rotates the object in the selected axis.
The Scale tool scales the object in the selected axis. The
middle square scales in all three axes.
Axis
To change the axis referencing system (the way the axis behaves
related to the object), press the Tool Settings button. This will bring
up a window that shows the options available for the tool you are
using to manipulate the object (Translate or Move, Rotate, or Scale).
372
Appendix B – Maya Polygonal Modeling Quick Start Guide
Figure B-6: Move, Rotate, and Scale gizmos.

Mirror/Duplicate
To mirror a polygonal mesh in Maya, select the object and go to the
Polygons | Mirror Geometry menu option. The option box enables
you to choose from a variety of axes to mirror.
To duplicate the polygon mesh in Maya, select the geometry
and press Ctrl+D. This simply duplicates the object at the same
position as the original object. It is possible to duplicate the geome-
try scaling, translating, and rotating along any axis by using the
Duplicate Options window.
373
Appendix B – Maya Polygonal Modeling Quick Start Guide
Figure B-7
Figure B-8: Duplicate Options window.
The –1.0000 value will mirror the geometry and scale it in negative
direction. This is an alternative to the Mirror Geometry option.
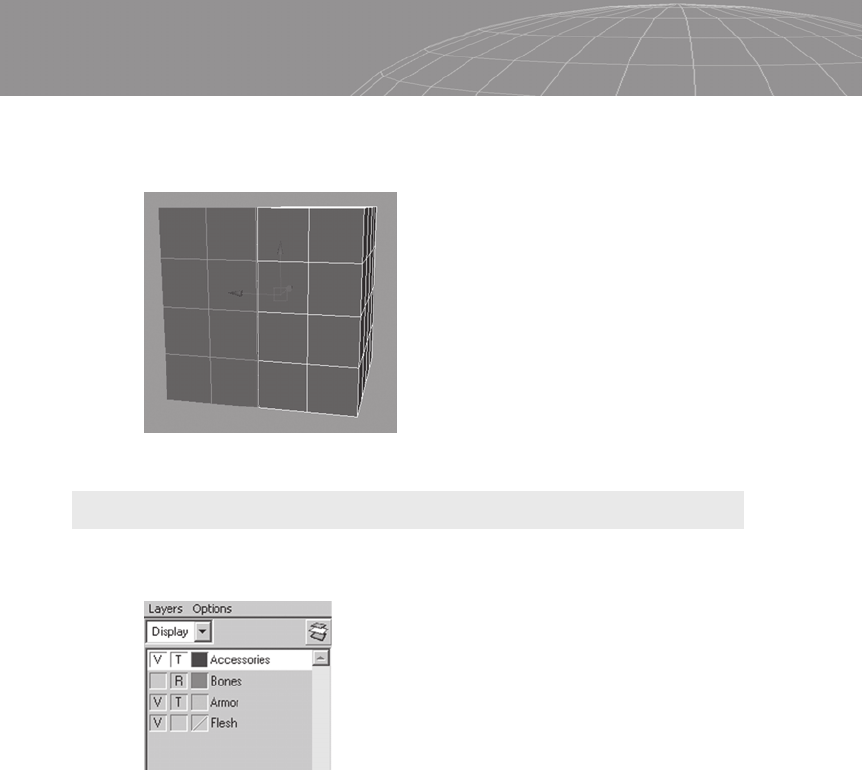
Layers
The layers in Maya are quite simple to manage by using the Layers
and Options menus.
The Layers menu provides options for creating, editing, and delet-
ing the selected layer. In each layer you’ll notice three columns.
The first column is for visibility. You can turn on or off the “V”
letter. When the “V” is displayed, the layer is visible. If the square
is blank, the layer is invisible.
The second column enables the options for template and refer-
ence. If the letter “T” is displayed, all the objects inside the layer
will be visible but you can’t select them or snap anything to them. If
the letter “R” is displayed, you can see the objects and snap to them
but cannot select or modify them.
The third column is for colors. Setting colors for the layers
make it easier to distinguish layers if there are a number of them.
374
Appendix B – Maya Polygonal Modeling Quick Start Guide
Figure B-9
Figure B-10: Layers and Options menus.
To the right of the color box is the name of the layer. It is rec-
ommended that you give the layers appropriate names so you can
quickly recognize what kind of objects are in that layer.
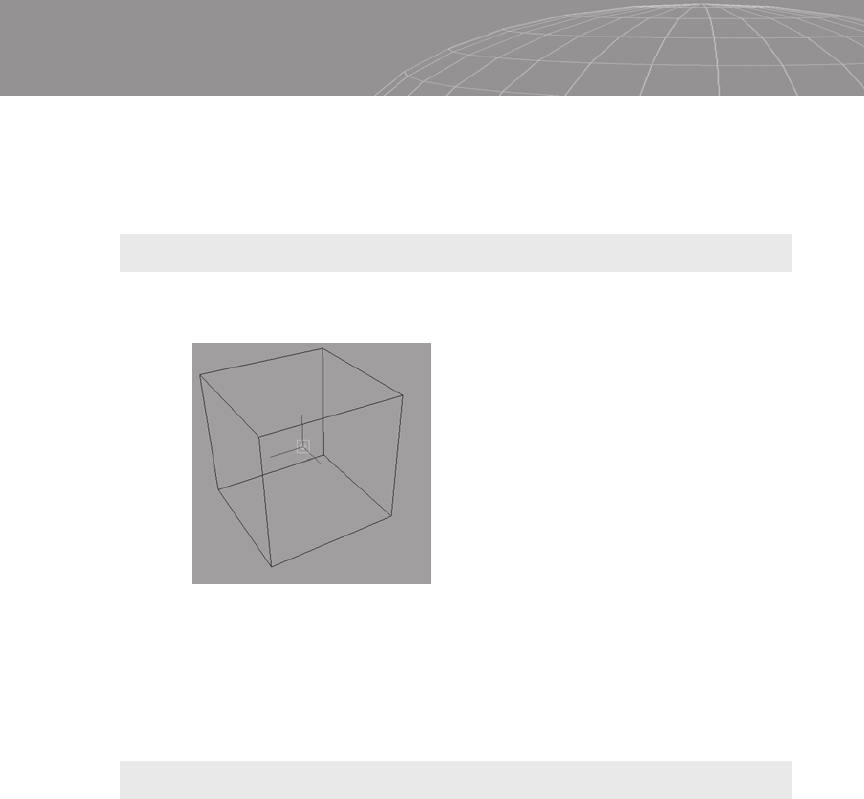
Pivot
To view and manipulate the pivot, select the Transform mode and
press the Insert key.
You can move and change the pivot point. To center the pivot, select
Modify | Center Pivot. This will automatically place the pivot at the
center of the object.
Subelements Structure
Maya’s subelements, called components, can only be accessed in
component mode, which is accessed through the marking menus by
right-clicking inside the object or assigning a specific hotkey for
component mode. Also notice that Maya treats the UV as a compo-
nent. Choosing object mode exits the component mode.
375
Appendix B – Maya Polygonal Modeling Quick Start Guide
Figure B-11

Attributes
The Attribute Editor can be accessed by pressing or by press-
ing Ctrl+A. The Attribute Editor contains tabs with parameters
created with the object and parameters of tools applied later. When
you create a polygonal primitive in Maya, the internal Maya archi-
tecture creates some nodes that will compose that object. In Figure
B-13, we can see that Maya creates five nodes when we create a
single sphere: pSphere1, pSphereShape1, polySphere1,
initialShadingGroup, and lambert1. These tabs can be confusing at
first, but in time you’ll notice that they allow you to have greater
control of the object that will be reflected in it’s final shape.
376
Appendix B – Maya Polygonal Modeling Quick Start Guide
Figure B-12: Subelements in Maya can
be easily accessed from the marking
menus.
..................Content has been hidden....................
You can't read the all page of ebook, please click here login for view all page.