
There are also several other buttons near the Attribute Editor:
Show/Hide Tool Settings — Toggles the tool settings.
Show/Hide Channel Box/Layer Editor — Toggles the Channel
box and the Layer Editor.
The History button is located in the status line. Maya history
stores information about the changes you make to your mesh. If the
button is set to off , the information will not be stored. For opti-
mization issues, it is recommended that you turn the history off. To
remove the history of a specific object, select it and choose Edit |
Delete All by Type | History.
377
Appendix B – Maya Polygonal Modeling Quick Start Guide
Figure B-13

Display Modes
Maya offers several options for polygonal mesh display.
Examples of display mode options. The letters in the figure corre-
spond to the options listed below.
a - Smooth Shade All: Smooths the surface and displays the vol-
ume of the mesh.
b - Flat Shade All: Displays the faces of the mesh with constant
shading.
c-Wireframe: Displays the wires without shading properties.
d - Bounding Box:Displaysthewholeobjectasabox.Thisisa
good option for speed optimization in the viewport.
e-Points: Displays only the vertex points of the geometry.
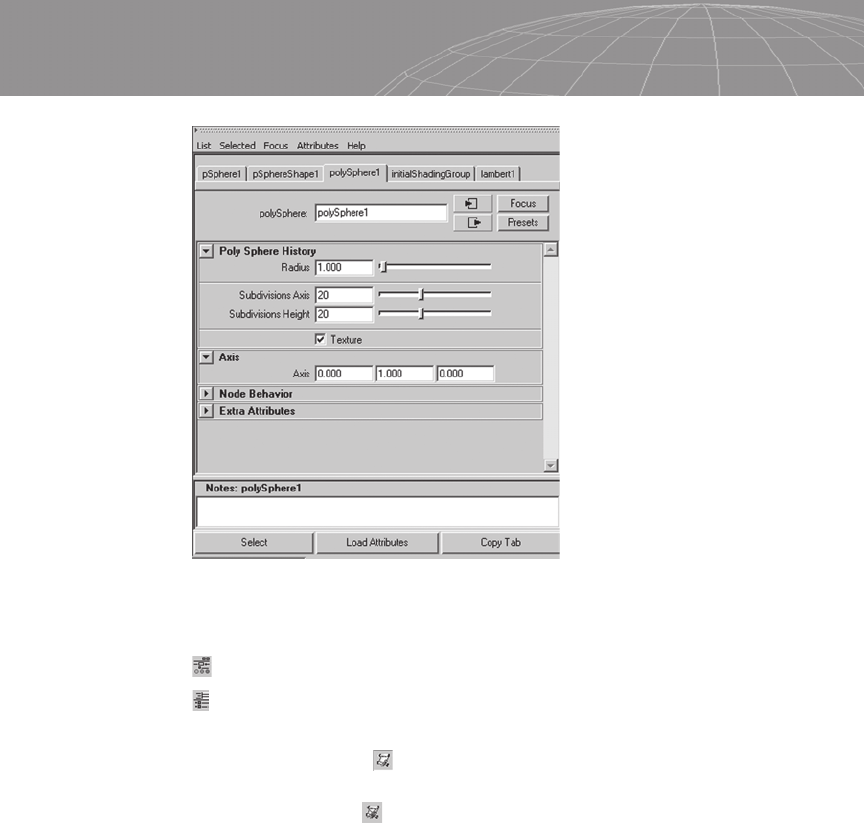
Name
In the Channel box you can click on the object’s name, such as
pSphere1 in the following figure, and rename it whatever you wish.
The nodes of the archive can be renamed as well but is not
necessary.
378
Appendix B – Maya Polygonal Modeling Quick Start Guide
Figure B-15
Figure B-14
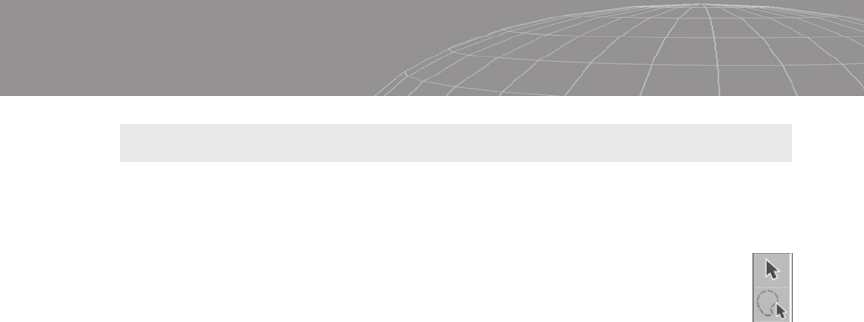
Selecting
Maya provides various ways to select objects and components,
including ways to precisely select an object or group of objects in a
complex scene. You can select objects with the Select tool (shortcut
Q) or with a Lasso Selection tool. The Select tool individually
selects the objects by clicking on them. The Lasso Selection
tool creates a freehand marquee selection and selects every-
thing inside the marquee.
There are a number of selection options available in the Edit
menu:
Select All: Selects everything.
Select Hierarchy: Selects lower nodes of the current selected
node in the scene hierarchy.
Invert Selection: Inverts the selection. This will unselect the ob-
jects that are selected and select everything that was
unselected.
Select All by Type: Selects all objects of specific types such as
polygons, NURBS, joints, etc.
Quick Select Type: Shows the options to quick select the sets
you’ve created.
Paint Selection Tools: Activates the paint selection for compo-
nents.
Selection Sets: As in 3ds Max, you can create selection sets
when working with complex scenes or objects that require you
to select a large number of specific objects instead of selecting
them one by one. To create a selection set, select Create |
Sets|CreateSelectionSetsandtypeinthenameyouwant.
To recall that set, select Edit | Quick Select Sets | <created
sets>.
The following sections discuss other methods Maya provides for
selecting and managing objects.
The Outliner
The Outliner is similar to the Select by Name option in 3ds Max.
It’s a list where you can view and manage the scene files with ease.
The object’s name is preceded by an icon that shows you the type of
object.
379
Appendix B – Maya Polygonal Modeling Quick Start Guide

In Figure B-16, we can see a curve, a NURBS cone, a subdivision
cube, and a polygonal sphere that are parented together, as indicated
by the light gray line. Notice that the icons for each object differ.
The plus and minus signs indicate that the object has attributes or
other objects connected to it. In the Display and Show menus you
can set the level of nodes and the type of objects you want dis-
played. If you are working exclusively with polygons, for example,
you may want to disable all the other items from being displayed in
the Outliner.
The Hypergraph
The Hypergraph provides a clear understanding of Maya’s internal
architecture for managing objects and their nodes. Maya has a DAG
(Directed Acrylic Graphic), which is a graphical representation of
the arrangement of objects and their connection nodes. In Hyper-
graph it is possible to select the objects and/or manipulate the
nodes of a specific object. The navigation commands inside
Hypergraph are the same as for viewport navigation (except for 3D
navigation since Hypergraph is a 2D window). With the Buttons
menu you can frame the nodes, show and hide input connections
between them, and bookmark specific regions where nodes are con-
nected to recall later without losing time trying to find them in
complex scenes.
380
Appendix B – Maya Polygonal Modeling Quick Start Guide
Figure B-16: Outliner window.

For modeling, it is important to notice that every change we make
to the object like cuts, extrusion, and so forth will be referenced in
the Hypergraph, but if we delete the history these nodes will also
be deleted because they represent changes we made.
Grouping and Parenting
Grouping is a very powerful way to make a set of objects unified by
a node. In Maya you can group objects and select them individually
or select the group node to select all at once. Parenting is the same
as “linking” in 3ds Max. Parenting objects creates a hierarchy
relationship.
Grouping and parenting options can be found in the Edit menu.
Colors and Shading
The colors and shading in Maya can be changed by applying a spe-
cific material created via hypershade or by accessing the lambert1
tab in the Attribute Editor. The Lambert shader is applied by default
to every primitive you create.
381
Appendix B – Maya Polygonal Modeling Quick Start Guide
Figure B-17: Hypergraph window.
..................Content has been hidden....................
You can't read the all page of ebook, please click here login for view all page.