

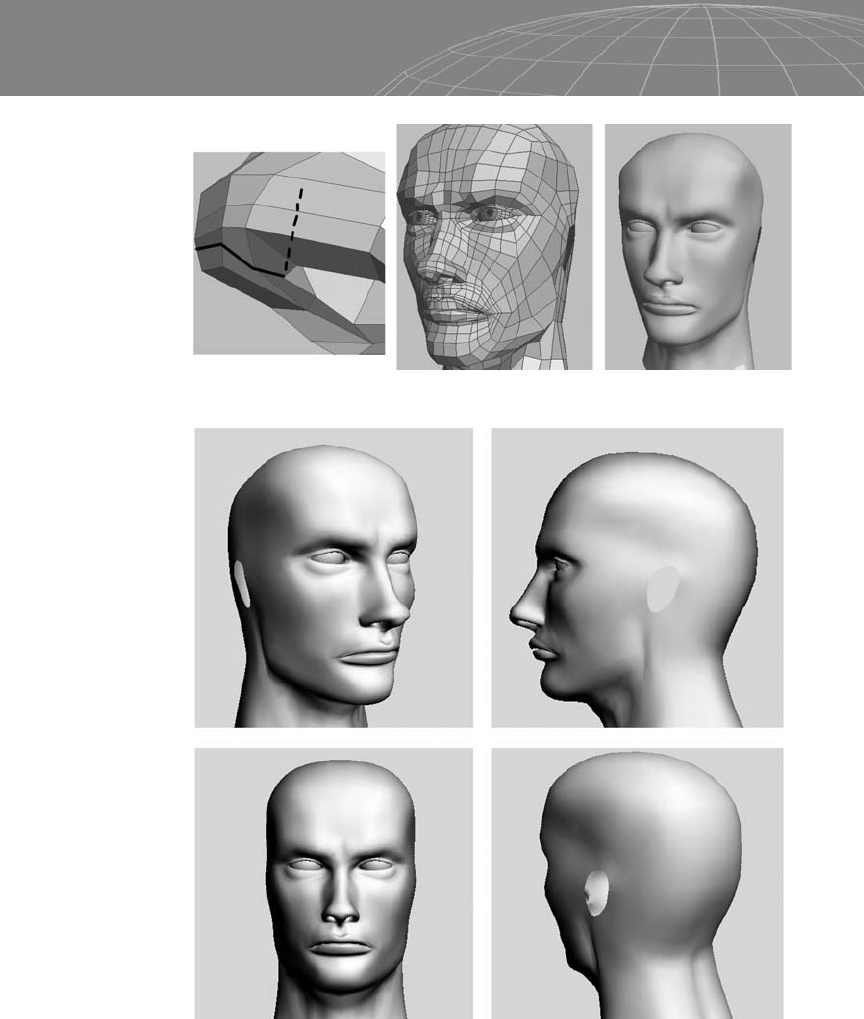
The following figure shows the smoothed result of the head at this
stage. It’s recommended that you create some lines around the eye
socket to generate appropriate tension and to make it easier to con-
trol the detail.
Cut the marked area at the left of Figure 5-15 to define the nose.
Then cut as shown in the center image (note that everything is
quad) and select the marked polygon, extrude up, scale down a bit,
and extrude up again.
93
Chapter 5 – Human Project: Male Head
Figure 5-13
Figure 5-14
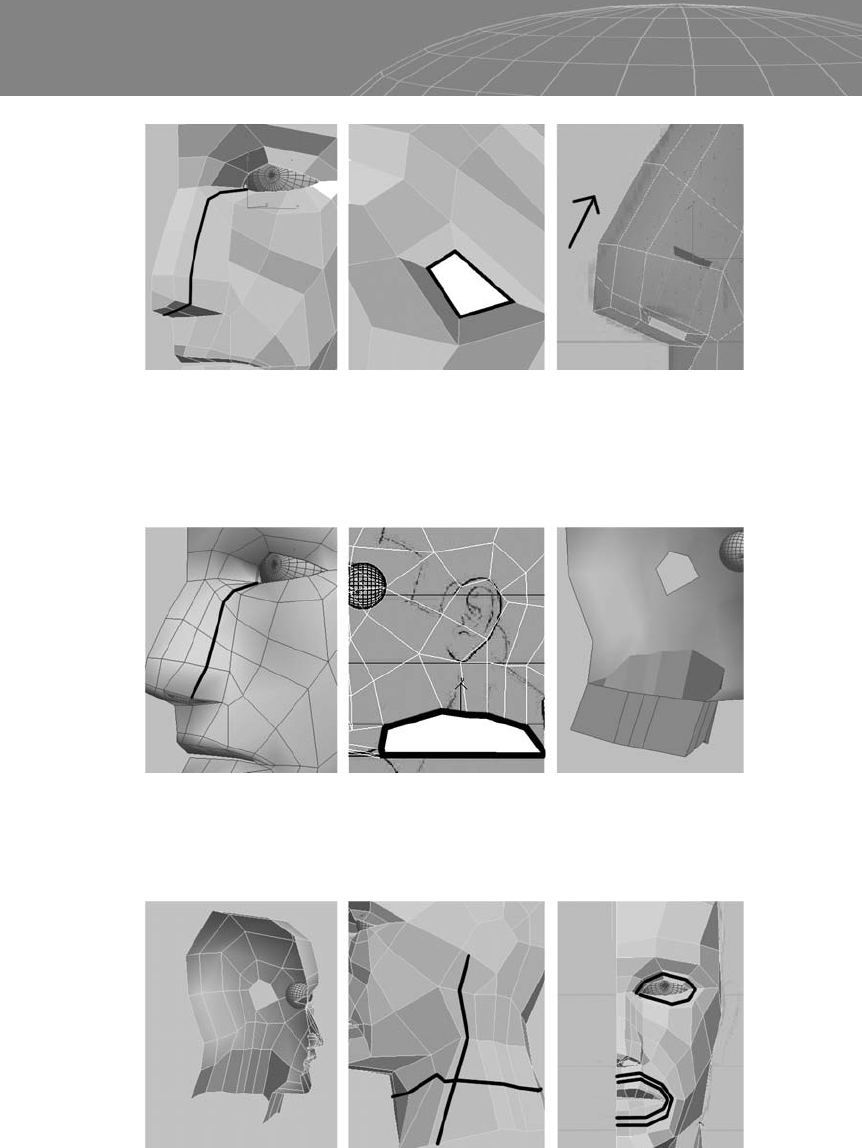
After cutting the region of the nose that’s marked at the left of Fig-
ure 5-16, it’s time to work on another part of the head.
Select the neck as shown and extrude down.
Select the polygons of the neck that were generated on the mirror
line and delete them. Then cut the marked areas.
94
Chapter 5 – Human Project: Male Head
Figure 5-15
Figure 5-16
Figure 5-17

It’s looking more like a head now, but it still needs a lot of work. Cut
the area marked below; this is an important area for the line flow of
the head. You’ll want to mirror the geometry from time to time to
see how your model looks.
The top of the head is less important, and you don’t have to do
exactly as shown in Figure 5-19.
Figure 5-20 shows more cuts. Just follow the lines defined in earlier
steps. These new edges will generate more tension and help with
detail and shape control.
95
Chapter 5 – Human Project: Male Head
Figure 5-18
Figure 5-19
Figure 5-20
More edges are created in Figure 5-21 for better detail and shape
control. Just follow the line flow and the loops.
It is important to note that we are moving vertices and changing the
shape of the model throughout the modeling process. This process
usually takes a few hours just to model a refined rough base mesh.
Cut the area marked in Figure 5-22 to create finer control
around the eye and push back an entire row of vertices to define the
eyelid. The marked edges for the nose area generate tension. Cut
more polygons following the lines if you need more control.
Cut the nose to improve control around the nostril as shown in Fig-
ure 5-23. At this stage we have a head with sufficient edges and
tension. From this point it is just a matter of moving vertices and
using Soft Selection to adjust the volume of the head.
96
Chapter 5 – Human Project: Male Head
Figure 5-21
Figure 5-22
97
Chapter 5 – Human Project: Male Head
Figure 5-23
Figure 5-24: The current head model. More work is needed to fix some
areas, but we’ll refine the head when the ear model is attached.
..................Content has been hidden....................
You can't read the all page of ebook, please click here login for view all page.