
polygons that are in a selected area. You can get very fine details
with this level of subdivision.
Posing/Moving/Rotating/Scaling
The methods for moving, rotating, and scaling objects are signifi-
cantly changed in ZBrush 3. The old “Move” now is a brush that is
located in the Brush palette. The options in the toolbar for move,
scale, and rotate are now part of the feature called Transpose. With
Transpose you can easily rotate limbs of characters and “pose”
them the way you like by masking the areas that you don’t want to
be changed. This way you can change the character or object one
joint at a time.
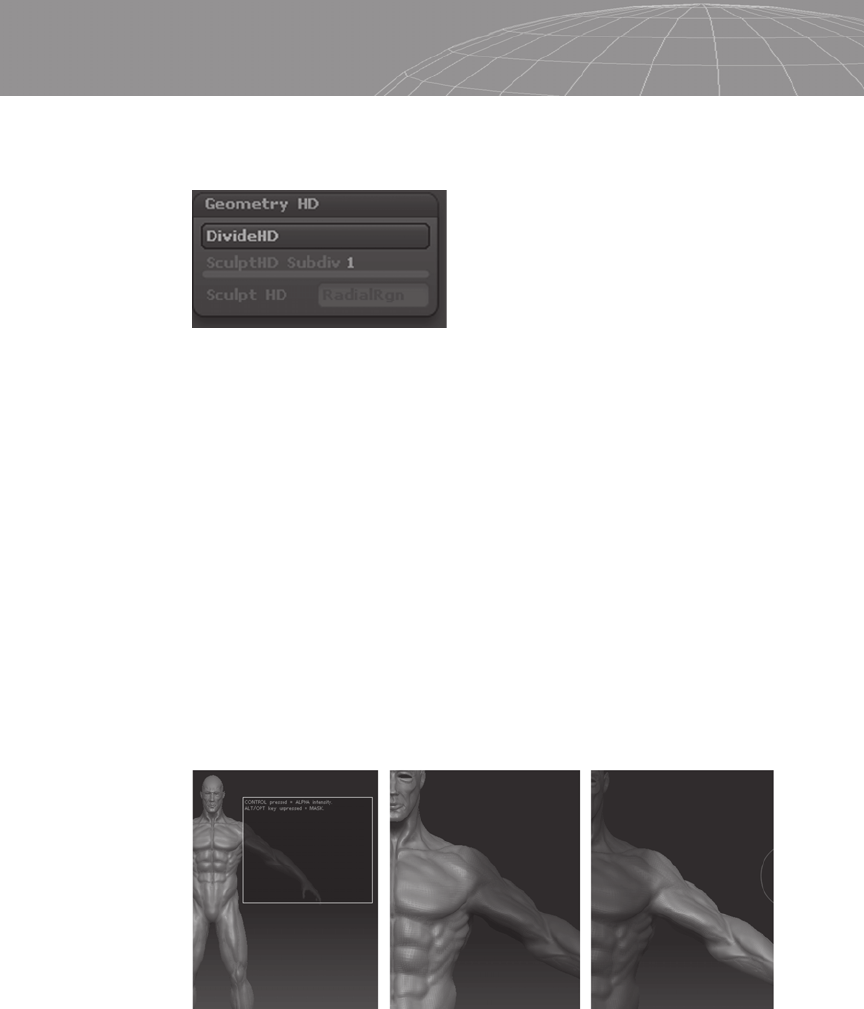
In the following figure, the image on the left shows using a
mask selection (Ctrl+click and drag) to mask the arm area. Hold
and Ctrl+click in the mask limit edge to blur the mask at that area.
Ctrl+click in the canvas to invert the mask.
Now that you have the mask set up, click the Rotate icon to activate
the action line. To move the action line, click and drag the center
ring. Clicking and dragging the endpoint circle causes the action
line to rotate (or move or scale, according to what you’ve selected).
Be sure to position the action line correctly before you start
275
Chapter 11 – Introduction to ZBrush
Figure 11-84: The Geometry HD options.
Figure 11-85: Place a mask to isolate areas to change.
..................Content has been hidden....................
You can't read the all page of ebook, please click here login for view all page.