
Now we can go on the rest of the head and add more edges.
First we push the marked vertices to fit the nose in the reference.
Then we add more edges and push back the vertices to fit the refer-
ence. The marked vertices in the center and at the right are the
same vertices shown in the side and front views.
228
Chapter 10 – Ogre Head
Figure 10-12
Figure 10-13
Figure 10-14

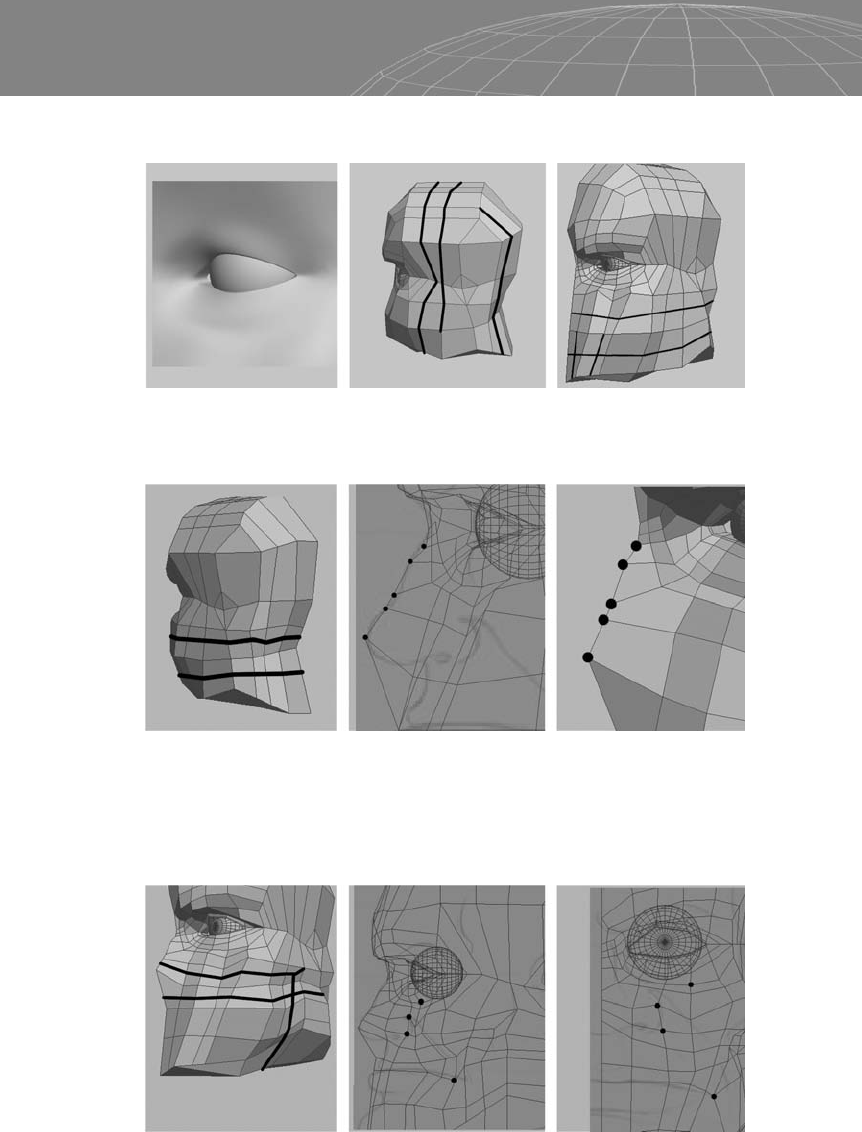
Add a couple more edges as shown at the left in Figure 10-15 and
remove the marked edges shown in the center. Be sure to keep all
quads to avoid undesired results in your mesh.
Cut the marked areas below to improve the control cage and notice
how this reshapes the flow of the ogre nose at the right.
Cut around the nostril to give it some tension, then select the
marked polygons, extrude in a little, scale down, and extrude again,
following the same process we used in Chapters 5 and 7 for the
male and female noses.
229
Chapter 10 – Ogre Head
Figure 10-15
Figure 10-16

We add one extra ring to the nose, then select the marked polygons
and extrude up.
Take a look at the nose in the subdivided view. Now continue to cut
the marked edges shown at right in Figure 10-19.
230
Chapter 10 – Ogre Head
Figure 10-17
Figure 10-18
Figure 10-19

After some tweaking to increase the accuracy of our reference, we
start working on the chin, creating more edges to make it rounder.
Delete the marked polygon at the left and continue refining.
Then we cut some edges following the loop of the mouth to push
forward and refine the lips.
231
Chapter 10 – Ogre Head
Figure 10-20
Figure 10-21
Figure 10-22

We need to add some extra edges to provide a refined base for the
ear (center) and select the polygons (right).
Cut in some local areas to obtain finer control and add details before
displacement.
Select the bottom polygons at the base of the neck.
232
Chapter 10 – Ogre Head
Figure 10-23
Figure 10-24
Figure 10-25
..................Content has been hidden....................
You can't read the all page of ebook, please click here login for view all page.