
Performing a vulnerability scan using Nessus is quite simple. In this section, I will guide you through the process of creating a customized scan.
To create a new scan, use the following procedure:
- On the top-right corner, click on the New Scan button as shown in the following screenshot:

-
You'll have the option of using one of the predefined policies available. If you would like to create a custom scan for a target, select the Advanced Scan policy as shown in the following screenshot:

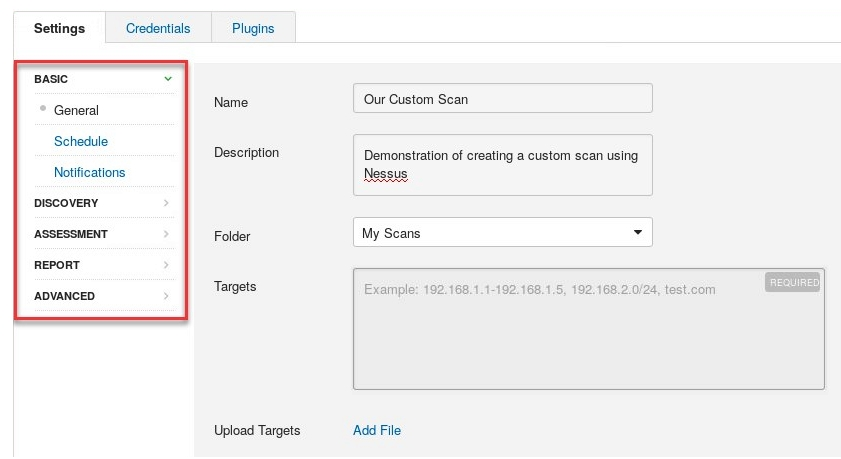
- The policy/scan wizard will open, providing you with many options to customize your new scan. On the General tab, ensure you insert a name and description as they will aid in identifying the purpose of this new scan/policy; be sure to include your target(s):
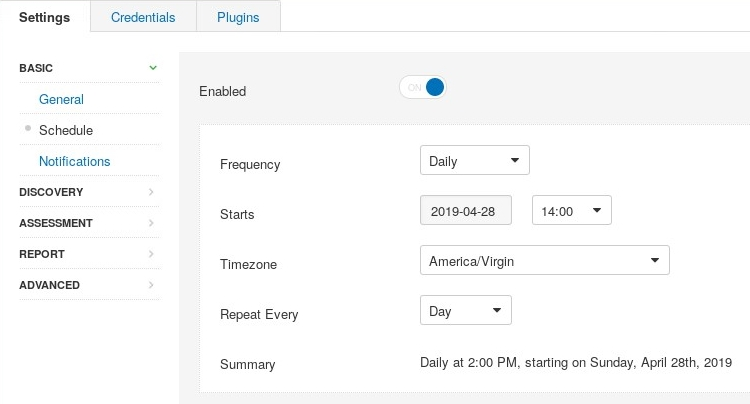
- You'll have the option to schedule how often the scan/policy should run: once, daily, weekly, monthly, or yearly. This feature allows the automation of running periodic vulnerability scans on target systems. Should you decide to create a schedule for the scan, you can use the options to set the date and time, the time zone, and how often to repeat:
- If you'd like to receive email notifications of the status of a scan, simply click on the Notifications tab and enter the recipient's email address. However, ensure you've configured the SMTP server settings, which will handle the delivery of email notifications.
- To access the SMTP server settings, go to https://localhost:8834/#/settings/smtp-server.
The Discovery tab contains the following options:
-
- Host Discovery: Provides options available to discover host devices on a network by using ping methods (ARP, TCP, UDP, and ICMP), discovering network printers, Novell NetWare hosts, and operational technology devices.
- Port Scanning: Provides customizable options for scanning a range of ports or a single port, performing enumeration of Secure Shell (SSH), Windows Management Instrumentation (WMI) using the netstat tool and Simple Network Management Protocol (SNMP). Performs network scanning on TCP and UDP ports and stealth scanning.
- Service Discovery: Allows the mapping of each found service to a port number.
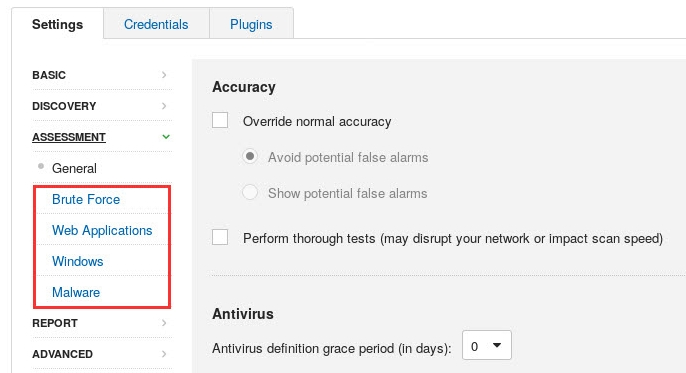
The Assessment tab contains the following options:
-
- Brute Force: Performs brute force testing on the Oracle database, and attempts logins to websites using Hydra.
- Web Application: Web application vulnerability testing.
- Windows: Attempts to enumerate domain and local user accounts.
- Malware: Scans for malware.
The following screenshot displays the options as outlined in the preceding section:
- Once you've completed customizing your policy, click on Save. The new policy/scan will be available in the My Scans folder (left panel). To launch the newly created policy/scan, click the scan and select Launch.
Now that you have an understanding of how to perform a scan using Nessus, let's take a deep dive into understanding the results Nessus produces in the next section.