
Let's set up our first virtual machine, our attacker machine, Kali Linux. The Kali Linux operating system is a Debian-based Linux platform consisting of over 300 tools for both penetration testing and forensics. It's one of the most popular platforms used by penetration testers as it contains many features and considerable functionality, such as the following:
- Full-disk encryption
- Support for Linux Unified Key Setup (LUKS) encryption with emergency self-destruction (Nuke)
- Accessibility features
- Forensics mode
- Live USB with multiple persistence
To get started, Kali Linux can be found at the official website (www.kali.org) and at the Offensive Security domain (https://www.offensive-security.com/kali-linux-vm-vmware-virtualbox-image-download/). There are many methods when it comes to setting up Kali Linux, such as installing from an ISO file and importing a virtual preconfigured image into a hypervisor. For our setup procedure, we are going to use the latter approach. Importing the virtual appliance is seamless and takes very little time; it also avoids the chances of misconfiguration that come with installation using an ISO file.
In my personal experience, setting up Kali Linux using the preconfigured virtual image also works more efficiently in most situations. To get started, we can take the following steps:
- Navigate to https://www.offensive-security.com/kali-linux-vm-vmware-virtualbox-image-download/ and download either the 32-bit or 64-bit Kali Linux VMware image, based on your operating system architecture. Choose either the VMware or the VirtualBox image, based on the vendor of your hypervisor software:

- Whether you've downloaded the VirtualBox or VMware image, ensure that you unzip the contents. If you've downloaded the VirtualBox image, within the folder there will be a file with a similar naming convention, as shown in the following screenshot:
![]()
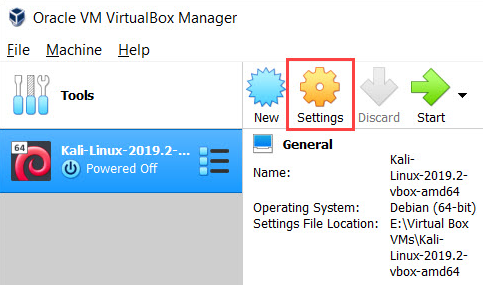
- You can right-click on File and choose Open with | VirtualBox Manager:

- Next, the Import Virtual Appliance wizard will appear. Simply click on Import. The importing process will take a few minutes to complete:

Once the importing process is complete, you'll see your new virtual machine available on the VirtualBox dashboard:
-
Import Kali Linux into VMware Workstation. Ensure that you've downloaded and unzipped the virtual image folder. The following are the contents of the extracted folder. Right-click on the highlighted file shown in the following screenshot, and choose Open with | VMware Workstation:

- VMware Workstation will then open, providing the Import Virtual Machine window. Click on Import:
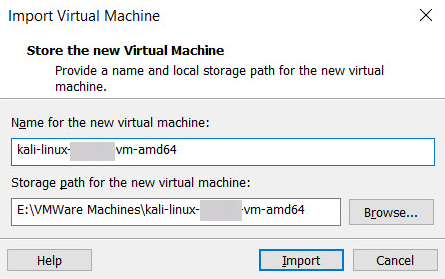
This process should take a few minutes to complete. Once complete, the new virtual machine will be available in your library on VMware Workstation:
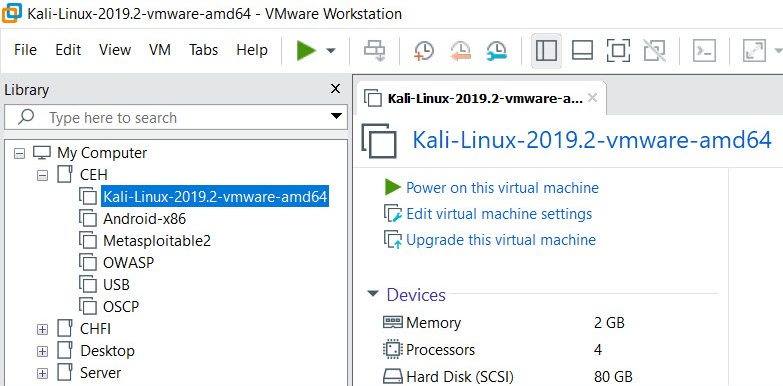
The benefit of importing a virtual image over manually installing an operating system using an ISO image is that all the configuration is done automatically. Configuration would include creating a virtual hard drive for storage and the assignment of resources, such as a processor, RAM, and NIC. Importing a virtual image eliminates the chances of any misconfigurations during the installation phase. Once the importing phase is complete, the user can subsequently make adjustments to the individual virtual machine, such as increasing or reducing the resources per virtual machine.