
Exercise | Create Layouts
In this exercise, you activate different layouts and then create two additional layouts.
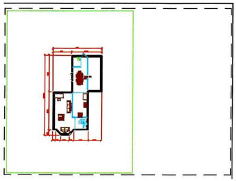
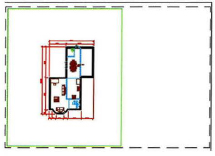
The completed exercise
Completing the Exercise
To complete the exercise, follow the steps in this book or in the onscreen exercise. In the onscreen list of chapters and exercises, click Chapter 6: Working with Layouts. Click Exercise: Create Layouts.
![]()
- Open M Create-Layouts.dwg.
- To activate a layout:
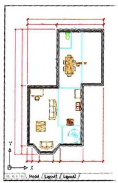
- Click the Layout1 tab.
- Review the layout format and the information displayed.
Note: If the Layout tabs are not visible, right-click on the Layout button in the status bar and select Display Layout and Model Tabs.

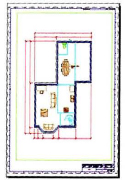
- To activate another layout, click the Layout2 tab. Notice the differences in the model space geometry being displayed and the page size and orientation.
- To create a new layout:
- Right-click the Layout tab.
- Click New Layout.
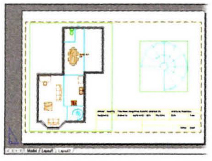
- To review the newly created layout, click the new Layout3 tab. It includes a single viewport and the page configuration is based on the default Option settings in your installation of the software. You may or may not see any of your model space objects.
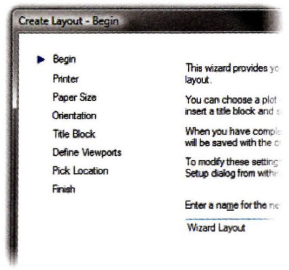
- To insert a new layout, from the Menu Bar click Insert > Layout > Create Layout Wizard. If the Menu Bar is not visible, turn it on or enter LAYOUTWIZARD on the command line.
- To specify a layout name:
- Enter Wizard Layout when prompted for the layout name.
- Click Next.
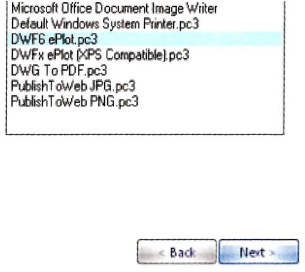
- To choose a printer for the layout:
- Select DWF6 ePlot.pc3 from the list of available printers.
- Click Next.
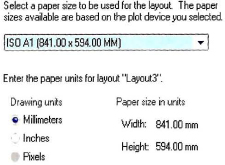
- To set the paper size:
- Select ISO A1 (841.00 × 594.00 MM) from the list of available paper sizes.
- Click Next.
- Click Next to keep the paper orientation as Landscape.
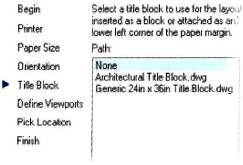
- To not include a title block:
- Select None from the list of title blocks.
- Click Next.
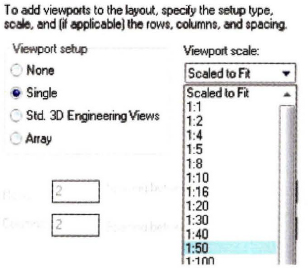
- To specify a viewport scale:
- On the Define Viewports page, under Viewport Setup, verify that Single is selected.
- Under Viewport Scale, select 1:50 from the list.
- Click Next.
- To set a location for the layout:
- Click Select Location.
- Click in the upper-left corner of the paper.
- Click the bottom of the page just past the halfway point as shown.
- Click Finish.
- Close all files without saving.
..................Content has been hidden....................
You can't read the all page of ebook, please click here login for view all page.