Lesson 27 | Breaking an Object into Two Objects
This lesson describes how to break objects into two separate objects using the Break command. The two new objects have the same properties as the original, but you can modify them independently.
There may be instances when you need to break an object into two or more separate pieces. While the Trim command can accomplish this, the Break command can break objects without the need for cutting geometry and the resulting pieces can have coincident endpoints.
After completing this lesson, you will be able to identify the command options for Break and use the command to break objects.
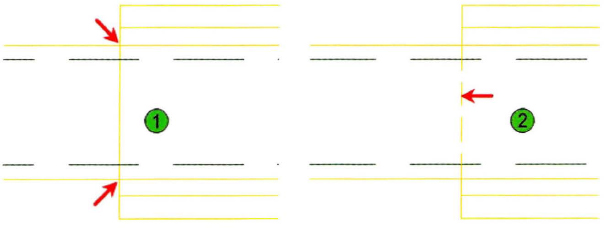
In the following illustration, the Break command was used to break an existing line (1) so that the properties of the resulting new object could be changed independently (2).
Objectives
After completing this lesson, you will be able to:
- Use the Break command to break objects.
Breaking Objects
Using the Break command, you can break a single object into two independent objects. You accomplish this by first selecting the object to break and then specifying the break points.
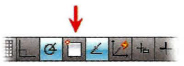
The Modify panel contains two versions of the Break command. While each version executes the core Break command, one breaks the object leaving a gap between the two remaining pieces and the other breaks the object at one point, leaving the ends coincident (touching). In this lesson, you learn both Break methods.
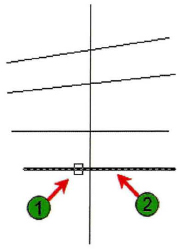
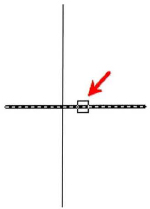
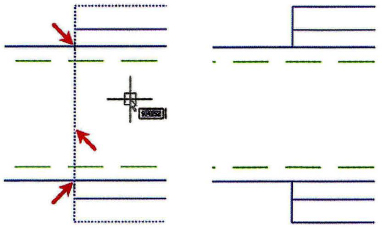
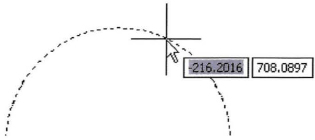
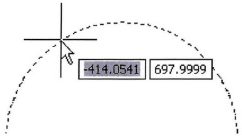
In the following image, the Break command was used to break the line indicated by the middle arrow, at the points indicated by the arrows pointing to the intersections.
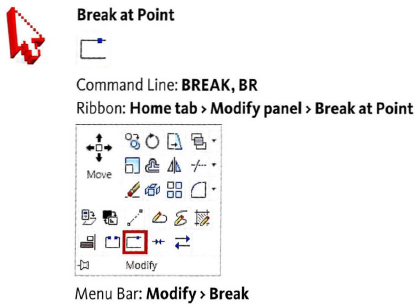
Command Access
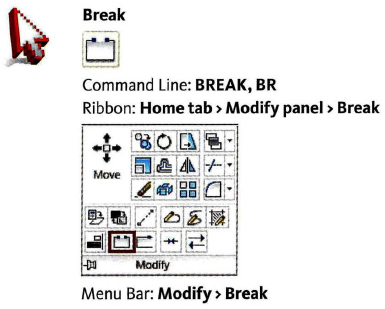
Command Access
Command Options
The Break command provides the following options. Select the Break at Point option on the 2D Draw panel if you want both first and second break points to be the same.
| Option | Description |
| First Point | Specifies the first point of the break. If this option is not specified, the point where you select the object is used as the first point. |
| Second Point | Specifies the second point of the break. Select any point on the object or enter @ and press ENTER to use the first point as the second point (results in the object broken so that endpoints are coincident). |
Procedure: Breaking Objects Using the Break Command
The following steps give an overview of breaking objects using the Break command.
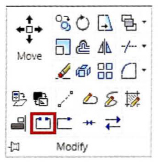
- On the Modify panel, click Break.
- Select the object to break. If you do not manually specify the first point of the break, then the point at which you select the object is used as the first point of the break.
- Right-click anywhere in the drawing. Click First Point.
- Select the first point of the break.
- Select the second point of the break.
The selected object is broken at the points specified.
Procedure: Breaking Objects Using the Break at Point Command
The following steps give an overview of breaking objects using the Break at Point command.
- On the Modify panel, click Break at Point.
- Select the object to be broken.
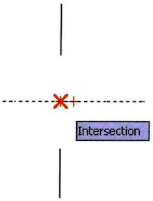
- Select the first break point.
- The first break point is automatically used for the second break point, resulting in two objects with coincident endpoints.
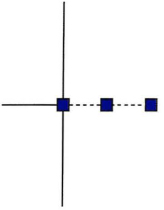
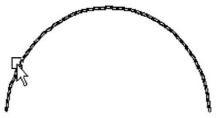
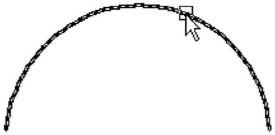
Note that when the object is selected the grips display the broken segment.

Guidelines for Breaking Objects
- You can use the Break command on lines, circles, arcs, polylines, and splines.
- If you do not manually specify the first point, the point at which the object was selected is used as the first point.
- When breaking an object at the intersection of another object, be sure to specify which object you want to break first.
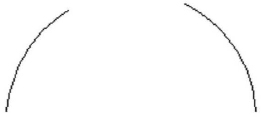
- Circles break in a counterclockwise direction. The portion that gets removed depends on the order in which you select the breakpoints.
- You can enter @ and press ENTER to use the first point as the second point, which results in the object being broken in such a way that the resulting endpoints are coincident.
When to use Break
Use the Break command only when there are no cutting edges that would allow you to use the Trim command or to break an object at a specific point without a gap.

Practice Exercise | Breaking Objects
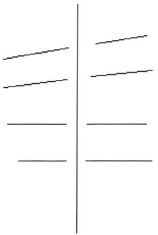
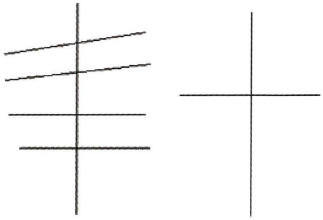
In this practice exercise, you practice the Break command by drawing a vertical line with a series of offset lines that intersect as shown below on the left, and practice the Break at a Point command by drawing two intersecting lines as shown below on the right.
- Draw the lines as shown above.
- To break the lines leaving a gap:
- To Break an object at a select point: