Exercise | Edit Hatch Patterns and Fills
In this exercise, you edit existing hatch patterns and fills. You erase geometry and view how the hatch pattern and fills update accordingly. You remove boundaries that are no longer needed and create new boundaries.
Warning!
Gradient fills are not supported by AutoCAD LT.

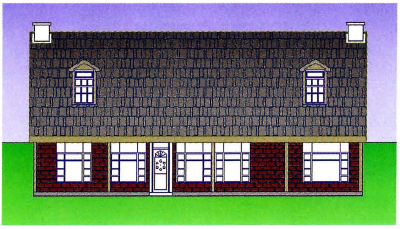
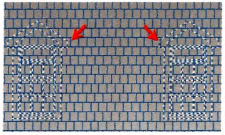
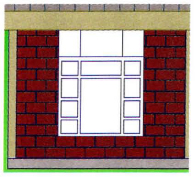
The completed exercise
Completing the Exercise
To complete the exercise, follow the steps in this book or in the onscreen exercise. In the onscreen list of chapters and exercises, click Chapter 9: Hatching Objects. Click Exercise: Edit Hatch Patterns and Fills.
![]()
- Open M_Edit-Hatches-Fills.dwg.
- Zoom to display the elevation as shown.
- Erase two of the dormers from the roof:
- Start the Erase command.
- Enter w and press ENTER to create a window selection.
- Create a window selection around the two center windows as shown.
- Press ENTER.
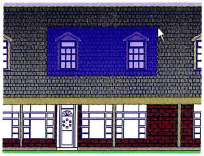
- Verify that the roof pattern and gradient are updated automatically.
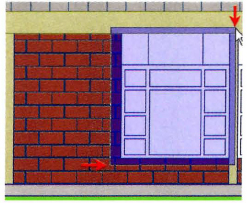
- Double-click the fill applied to the front fascia of the elevation to start the Hatchedit command.

- To remove the boundaries associated with the erased dormers:
- In the Hatch Edit dialog box, click Remove Boundaries.
- Select the highlighted boundaries to remove them. As you select the boundaries, they disappear.
- Continue selecting the boundaries until they are all removed.
- Press ENTER to return to the Hatch Edit dialog box. Click OK.
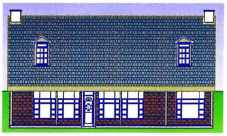
- Change the pattern and scale of the roof hatch:
- Double-click the roof hatch to start Hatchedit.
- Under Type and Pattern, select the Pattern list.
- Click AR-RSHKE.
- Under Angle and Scale, enter 1.5 in the Scale list.
- Click OK.
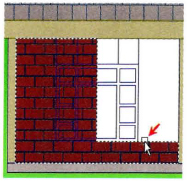
- Zoom in to the left side of the elevation.
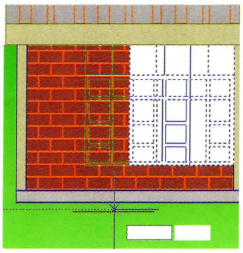
- Move a window:
- Start the Move command.
- Enter w and press ENTER to use a window selection.
- Click two points to define the selection window as shown.
- Press ENTER.
- Make sure either PolarSnap or ortho is turned on and do the following:
- Click anywhere on your drawing for the base point.
- Drag your cursor to the left at 180 degrees.
- Click to move the window to the left any amount as shown.
- Because the move generated a gap in the boundary, the hatch boundary associativity is removed. To correct this, remove the old boundary and create a new boundary for both the hatch and the fill:
- Double-click the fill area to begin the Hatchedit command.
- In the Hatch Edit dialog box, click Remove Boundaries.
- Select the boundary as shown.
- To add the new boundary:
- Right-click anywhere in the drawing.
- Click Add Boundaries.
- Select a point as shown.
- Press ENTER.
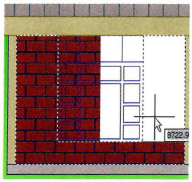
- In the Hatch Edit dialog box, click OK.
- Double-click the hatch pattern and repeat the previous process to remove and add a new boundary. When complete, the area should appear as shown.
Note: The preceding steps do not reassociate the hatch and fill with the geometry. Once associativity is removed from the hatch pattern, you would need to recreate the hatch pattern to achieve associativity. This lesson focuses on editing hatch patterns, but in some cases it could be quicker to delete the hatch and recreate it.
- Zoom to display the entire drawing.
- Close all files. Do not save.