
Exercise | Create Multiline Text
In this exercise, you use the Multiline Text command to create multiline text in the drawing.
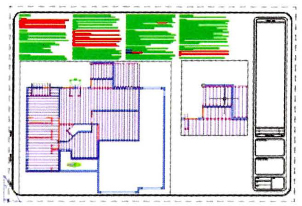
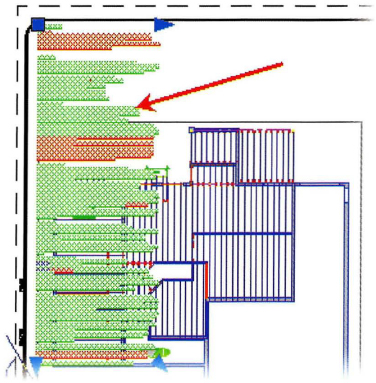
The completed exercise
Completing the Exercise
To complete the exercise, follow the steps in this book or in the onscreen exercise. In the onscreen list of chapters and exercises, click Chapter 7: Annotating the Drawing. Click Exercise: Create Multiline Text.
![]()
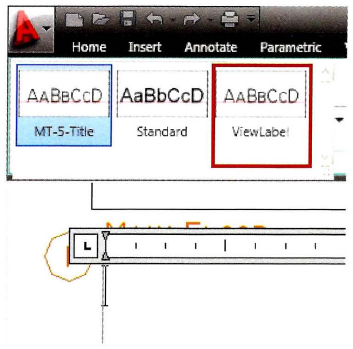
- Open C_Create-Mtext.dwg.
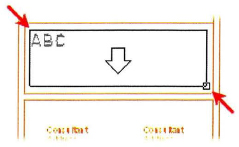
- Zoom into the upper-right corner of the title block.
- On the status bar, click Object Snap to turn it off.
- To place an address on the title block:
- Start the Multiline Text command.
- Click two points to define the multiline text box as shown.
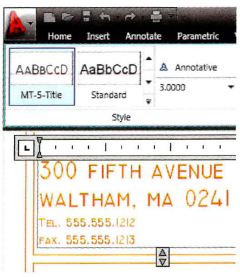
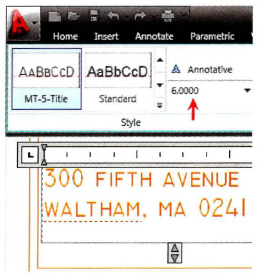
- To set the text height and enter the address:
- On the Style panel, in the text size list, enter 6.
- Enter the text as shown.
- Press ENTER after the last line.
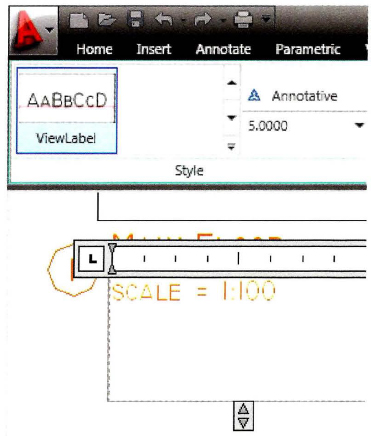
- To change the text height and enter the phone and fax numbers:
- In the Text Height list, enter 3.
- Press ENTER.
Note: You can enter values or select values in this list.
- Enter the text for the telephone and fax numbers as shown.
- Click on the Close Text Editor on the Close panel or double-click outside the Text Editor.
- Zoom to the extents of the drawing.
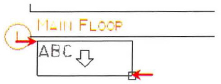
- Zoom a window around the view label text.
- Repeat the Multiline Text command. Click two points to define the multiline text box as shown.
- On the Style panel, select ViewLabel from the text style list.
- Enter the text as shown below.
- Double-click outside the Text Editor to close it.
- Zoom to the extents of the drawing.
- Close all files without saving.
Edit Mtext to Display Columns
In this exercise, you adjust existing text from a single column to a more orderly column layout.
- Open I_Mtext-Columns and Grips.dwg.
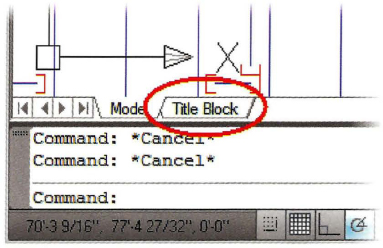
- Change to the Title Block layout.
- Select the Mtext object.
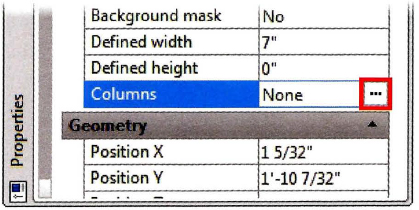
- Open the Properties palette from the command line. Under Text, for Columns, click […].
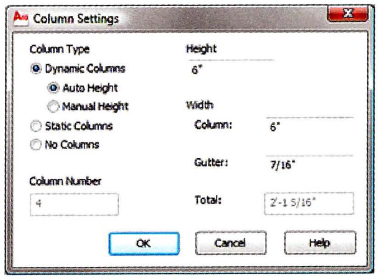
- In the Column Settings dialog box:
- Under Column Type, select Dynamic Columns.
- For Height, enter 6”.
- Under Width, for Column, enter 6”.
- For Gutter, enter 7/16”.
- Click OK.
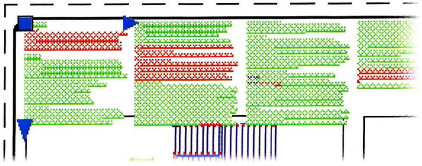
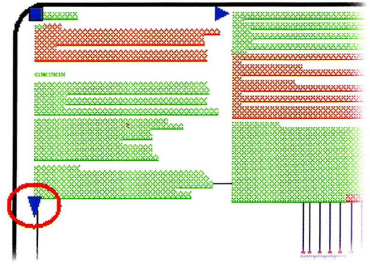
The Mtext object is displayed with four columns.
- On the Mtext object, click the Mtext Height grip.
- Drag the cursor up and select a point above the viewport as shown.
- Move the same grip back down as shown. The fifth column is removed.
- Press ESC to clear grips
- Close all files. Do not save.
..................Content has been hidden....................
You can't read the all page of ebook, please click here login for view all page.