
Exercise | Hands-on Tour
In this exercise, you open an existing drawing. You use display commands and explore different areas of the user interface.
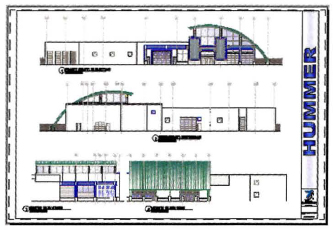
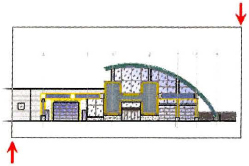
The completed exercise
Completing the Exercise
To complete the exercise, follow the steps in this book or in the onscreen exercise. In the onscreen list of chapters and exercises, click Chapter 1. Taking the AutoCAD Tour. Click Exercise: Hands-On Tour.
![]()
- Open C_Hummer-Elevation.dwg. Because the drawing was last saved with the Color layout view active, the drawing opens to that layout.
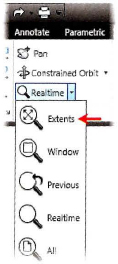
- On the status bar, click Zoom. Enter E and press ENTER to select the Zoom Extents option. The drawing is magnified to fill the screen. If your workstation is equipped with a wheel mouse, double-clicking the roller button also selects Zoom Extents.
- Use the wheel mouse, if you have it. Position the cursor to the left of the top view and roll the wheel forward then backward. If you do not have a wheel mouse, right-click anywhere in the drawing window and click Zoom. Hold the left button down and drag the mouse up and down. See how the magnification changes.
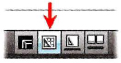
- On the View tab, click Navigate panel > Zoom drop-down > Extents to view the entire drawing layout.
- Now you switch the drawing view to model space, which is where the geometry for the drawing resides. On the status bar, at the bottom of the AutoCAD window and to the right, click Model.

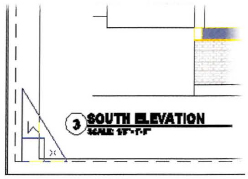
- On the View tab, click Navigate panel > Zoom drop-down list > Window. Click near the points indicated in the following illustration to magnify the area defined by the window.
- On the View tab, click Navigate panel > Zoom drop-down list > Previous. This returns you to the previous view.
- On the Quick Access toolbar, click Save.
- In the Application menu, select File > Close.
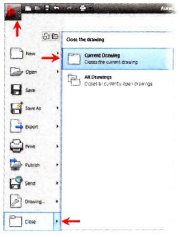
- In the Application menu, top right, you see a list of previously opened files for quick access.
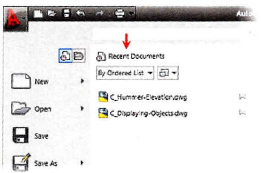
Select the C_Hummer-Elevation drawing. Notice that it is opened to the last view in which it was saved.
- On the bottom right of the AutoCAD window, click Layout to activate the color layout. Close the drawing.
- Now you start a new drawing. On the Quick Access toolbar, click New.
- In the Select Template dialog box, click the arrow next to Open. Click Open with no Template-Imperial. This opens a blank drawing with basic settings that you can change, such as the units format.
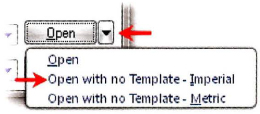
Note: For AutoCAD LT users, click acadlt.dwt.
- Move your cursor near the upper right corner of your drawing area. Observe that the coordinate readout shows a screen size of about 12 × 9 units.
- Close all files. Do not save.
Chapter Summary
Now that you have been introduced to several core features, you can begin learning how to create geometry.
Having completed this chapter, you can:
..................Content has been hidden....................
You can't read the all page of ebook, please click here login for view all page.