
Exercise | Plot a Drawing
In this exercise, you preview what you are going to plot, then you plot to a DWF file and to the default Windows system printer.
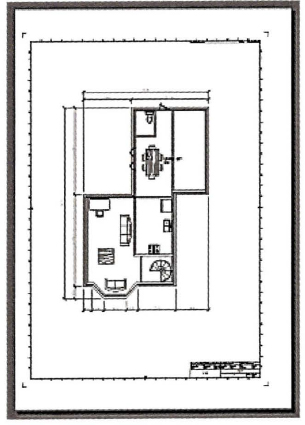
The completed exercise
Completing the Exercise
To complete the exercise, follow the steps in this book or in the onscreen exercise. In the onscreen list of chapters and exercises, click Chapter 12: Plotting Your Drawings. Click Exercise: Plot a Drawing.
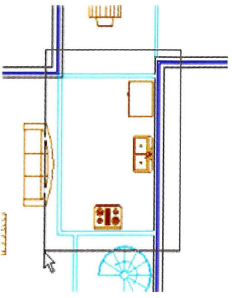
![]()
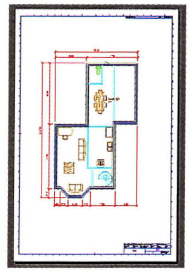
- Open M_Plotting.dwg.
- To preview the plot, click Output tab > Plot panel > Preview.
Notice that the green rectangular viewport shown on the layout is not shown in the preview. This is because the layer on which the viewport resides has its layer property set to No Plot.
- Click Close Preview Window or press ESC to close the preview window.
- On the Plot panel, click Plot.
- To create the DWF plot:
- In the Plot dialog box, click OK.
- In the Browse for Plot File dialog box, click Save.
This accepts the default file name and location, and plots the layout to the file as a DWF file.
- To specify a page setup when plotting:
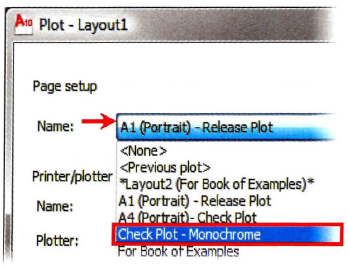
- Click Plot.
- In the Plot dialog box, under Page Setup, select Check Plot - Monochrome from the Name list.
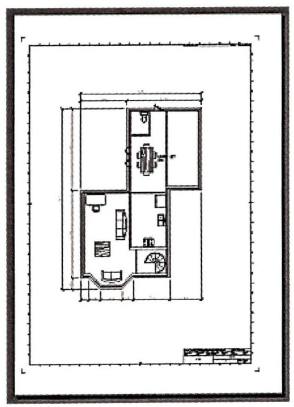
- To preview the plot, click Preview in the Plot dialog box.
Notice that this plot outputs the geometry in shades of black on a smaller sheet of paper.
- To create the plot:
- In the Preview window, click Plot.
- When prompted, add -B to the file name to create a DWF file called M_Plotting-Layout1-B.dwf.
- Click Save.
- Click the Model tab.
- Click Plot.
- To specify the printer/plotter, select DWF6 ePlot.pc3 from the Name list.
- To define the plot area:
- Select Window from the What To Plot list.
- Specify a window that encompasses the kitchen area as shown.
- Click OK.
- Click Save to create a DWF file called M_Plotting-Model.dwf. Take note of the location in which the file is being created in.
- Close all files without saving.
Note: You can now view the plots you created in the DWF Viewer by navigating to the location the files were created, and then double-clicking on them.
Chapter Summary
Depending on your business environment, you will produce a variety of completed design specifications. In this chapter you learned how to output your design data from both Model and Layout views. Saving layout configurations as page setups makes it easier and more efficient to set the configuration values for a layout and to quickly plot the information in different ways including output to paper and electronically.
Having completed this chapter, you can: