
Exercise | Select Objects
In this exercise, you use selection methods to erase objects in the drawing. You will be able to use these same methods to create selection sets in other drawings.
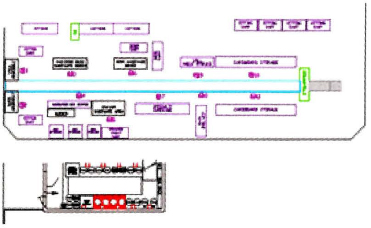
The completed exercise
Completing the Exercise
To complete the exercise, follow the steps in this book or in the onscreen exercise. In the onscreen list of chapters and exercises, click Chapter 3: Manipulating Objects. Click Exercise: Select Objects.
![]()
- Open M_Selecting-Objects.dwg.
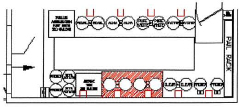
- Zoom into the area shown in the following image.
- Erase using the Implied Window selection option, then remove selected objects from the selection set:
- Begin the Erase command.
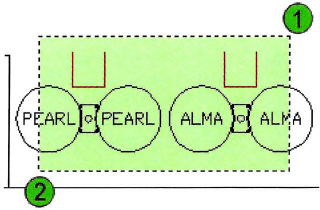
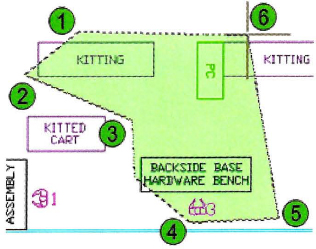
- Click near point (1), then near point (2), as indicated in the following image.
The selected geometry is highlighted. Only the objects that were completely enclosed by the window should be included in the selection set.
- To remove objects from the selection set:
- Press SHIFT+select to select the three lines indicated in the following image. This removes them from the selection set.
- Press ENTER to complete the erase command.

- To erase using an implied crossing window:
- Start the Erase command.
- Click near point (1), then near point (2) as indicated in the following image. Notice that you are now clicking from right to left. All of the objects that the selection window crosses are highlighted.
- Press ENTER to complete the Erase command.
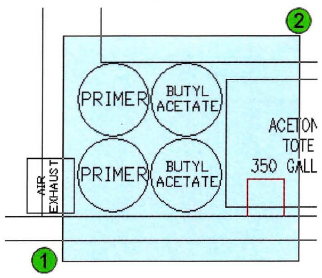
- In another part of the drawing (zoom in if necessary), erase selected objects using the Crossing Polygon selection option:
- Begin the Erase command.
- At the Select objects prompt, enter CP. Press ENTER.
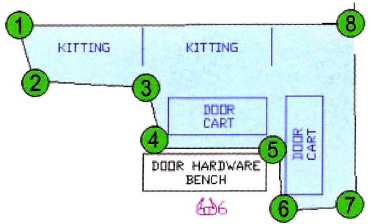
- Click the points for the crossing polygon following the illustration below.
- Begin with (1) and follow the points consecutively until you get to (6) and press ENTER.
- All of the objects that the polygon window has crossed are highlighted.
- Press ENTER to complete the Erase command.
- This time erase using the Window Polygon selection option:
- Start the Erase command.
- At the Select objects prompt, enter WP. Press ENTER.
- Click the points for the window polygon following the illustration below.
- Begin with (1) and follow the points consecutively until you get to (8). Press ENTER.
- Only the objects that are completely within the polygon window are highlighted.
- Press ENTER to complete the Erase command.
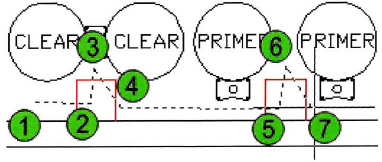
- Now practice selecting objects with the Fence selection option. Zoom if necessary to the part of the drawing shown below:
- Begin the Erase command
- At the Select objects prompt, enter F. Press ENTER.
- Click in the drawing as indicated in the illustration below, beginning with (1).
- When you reach point (7), press ENTER to complete the selection set.
- Press ENTER to execute the Erase command.
- Use the Last selection option to erase the last object made in this drawing:
- Zoom to the part of the drawing illustrated below.
- Begin the Erase command.
- At the Select object prompt, enter L. Press ENTER.
- Notice that the arrow to the left is highlighted. This was the last object created when this drawing was completed.
- Press ENTER to finish the erase command.
- View the entire drawing and erase all:
- At the command line, enter Z and press ENTER.
- Enter E and press ENTER. You should now be viewing the extents of the drawing.
- Start the Erase command.
- At the Select objects prompt, enter ALL. Press ENTER.
- Everything visible in the drawing will be highlighted.
- Press ENTER to start the command.
- At the command line, enter U. Press ENTER to undo.
- Close all files. Do not save.
..................Content has been hidden....................
You can't read the all page of ebook, please click here login for view all page.