
Fill Text with an Image (Part 2)?
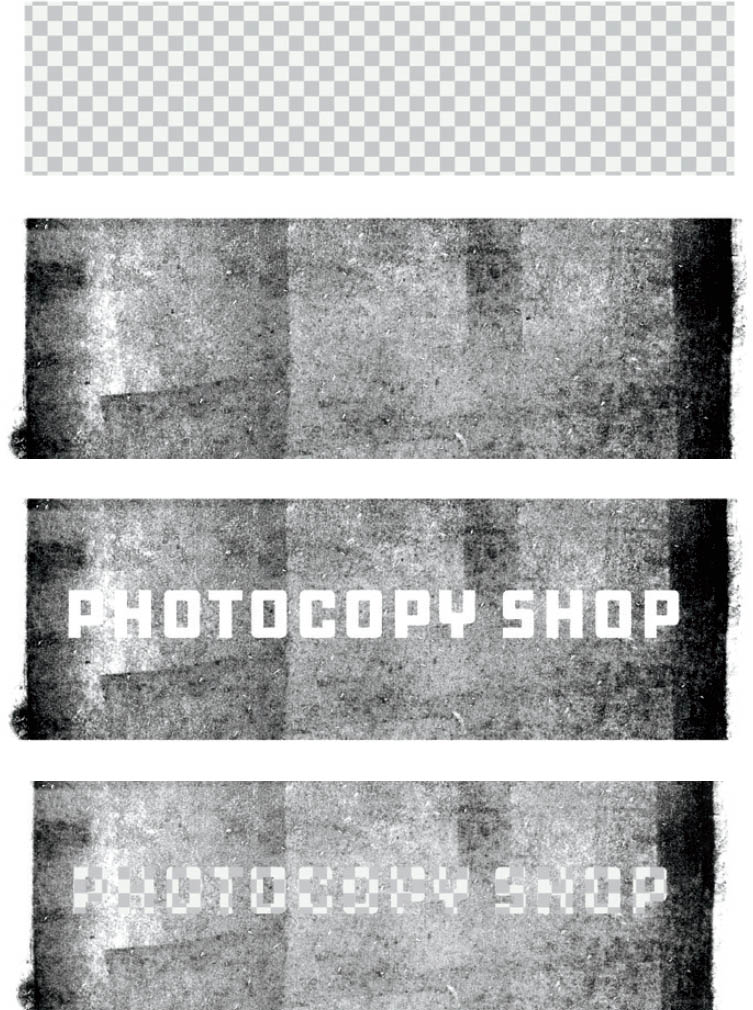
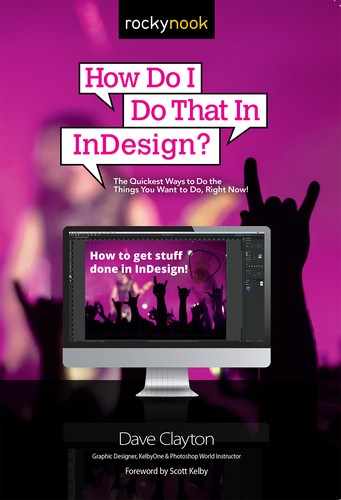
This tip allows you to fill text with an image and keep the text live so it’s still editable. We need two images to do this, one for the background and one for the text. For the text I’m using a Photoshop transparency grid pattern (Image 1), and for the background I’m using a photocopy texture (Image 2). Start by placing Image 1 into your document, and then create another frame that completely covers Image 1, and place Image 2 in this frame. Make sure it completely covers the underlying image; it’s the only way this particular technique works. We’ll use a blend mode trick to punch the text-shape through the photocopy texture image, which will make it look like the letters are made from underneath the image. For the text, create a new text frame with no stroke or fill on top of Image 2, then add text. Use a large, bold font to allow the texture through so it’s visible, and fill the text with white. Now select the text frame and go to the Effects panel (Window > Effects). Make sure Object is selected and choose Multiply from the blend mode pop-up menu. This makes the text vanish, but don’t worry, it’s still there. Next, go to the Layers panel, select the text layer and Image 2 (do not select Image 1), and group them by selecting Object > Group. You’ll see a dotted-line frame indicating a grouped set of items. With the new group selected, go back to the Effects panel, make sure Group is selected, and put a check mark next to Knockout Group. This reveals Image 1 through the letter shapes. You can resize the type, but be aware of the text boundary and the underlying image size.