

Format a Page to Print to the Edge of the Paper?
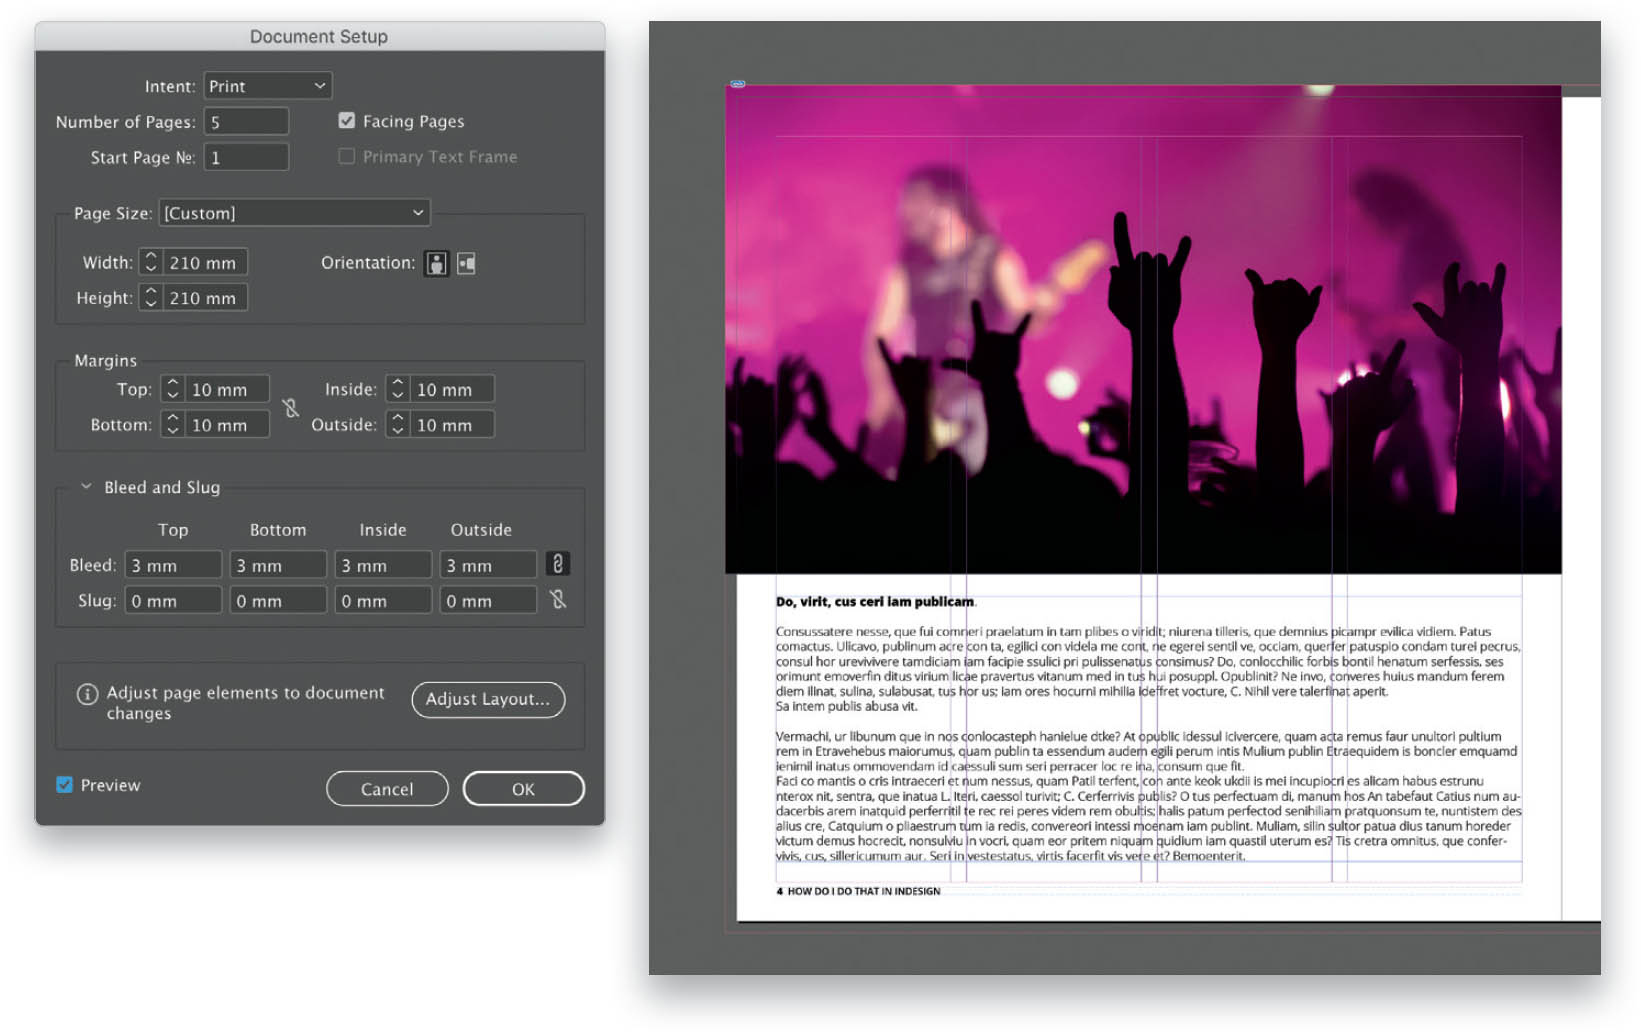
When creating documents for print we often want certain images or areas or color to go to the very edge of the paper. To ensure that the color goes to the very edge of the paper when it is trimmed, you have to allow for bleed. Your local print company will advise you on the bleed amount they require. I often leave a 3mm bleed all the way around the document for small documents, and around a 5mm–6mm bleed for larger documents. You can set the bleed at the creation of the document, but in case you forgot to do so, just go to File > Document Setup and a dialog will open up—the same one you see when creating your document. Go to the Bleed and Slug section near the bottom of the dialog and add your required bleed. Make sure the link icon to the right of the Bleed fields is selected so that when you type a number into the first field and then click in another, all of the fields will change to the same bleed size. (Note: See page 254 for information on how to enable marks and bleeds for PDF export.)
TIP: ADJUSTING THE BLEED
A little tip I always credit to Jon Bessant, a great InDesign instructor, is to click in the first field and then continue to tap the up arrow key on your keyboard until you get to the required amount. All fields will increase at the same time. Too much? Just use the down arrow to decrease the amount.